In this tutorial, we'll walk through all the steps needed to set up your own Koriander CMS blog on Amazon S3 and CloudFront.
Here's what we'll do in this tutorial:
- Install Koriander CMS and make your first page.
- Create the AWS resources needed to upload your site.
- Configure Koriander to upload your site.
Install Koriander CMS
First you're going to install Koriander CMS on our computer using pipx.
Install pipx using the official pipx installation instructions. Open a terminal on your computer and make sure that you can run pipx by typing the following command and pressing the Enter key:
pipx --version
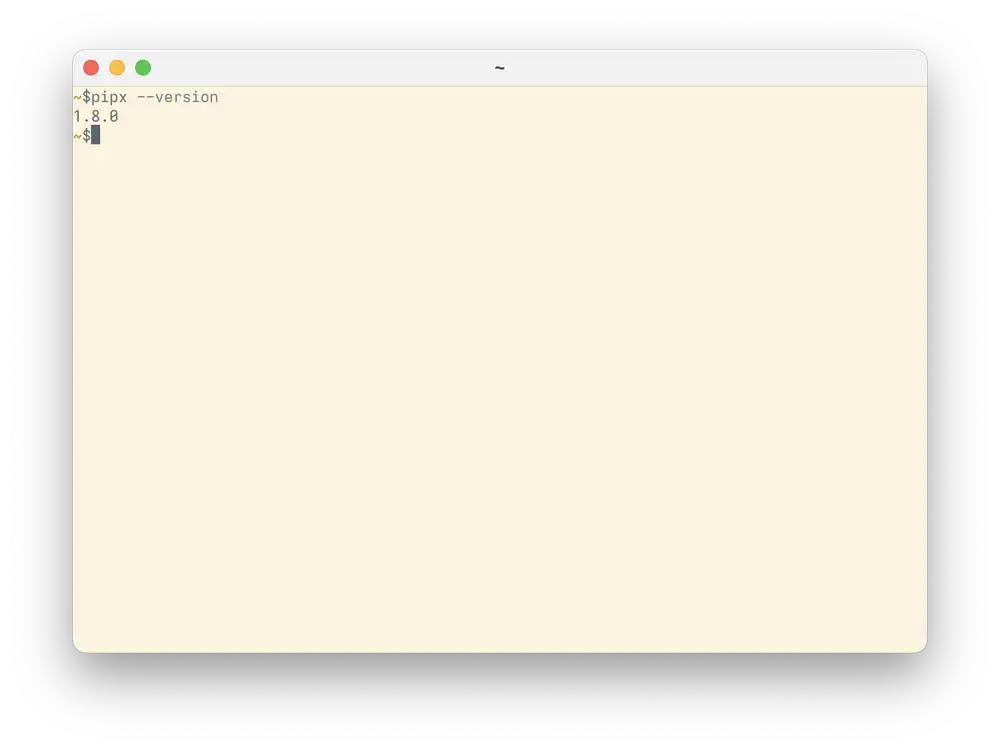
On the author's computer this command prints the following:
1.8.0
If you see pipx printing a version number like 1.8.0, you're ready to install Koriander CMS on your computer. Type the following command and press the Enter key:
pipx install koriander
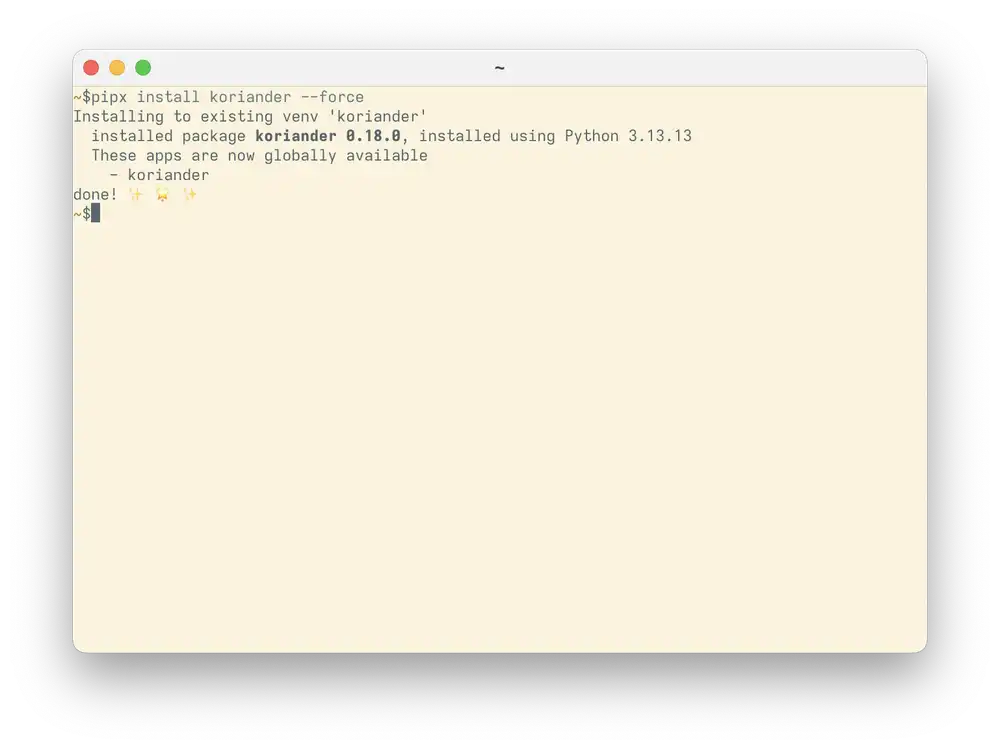
When pipx finishes installing Koriander CMS, pipx install koriander prints the following:
  installed package koriander 0.18.0, installed using Python 3.13.13
  These apps are now globally available
    - koriander
done! ✨ 🌟 ✨
The version numbers Koriander CMS 0.18.0 and Python 3.13.13 may be different when you install Koriander CMS.
Launch Koriander CMS
Now that you've installed Koriander CMS, you're ready to launch it from your terminal. In a fresh terminal window, type the following command and press Enter:
koriander
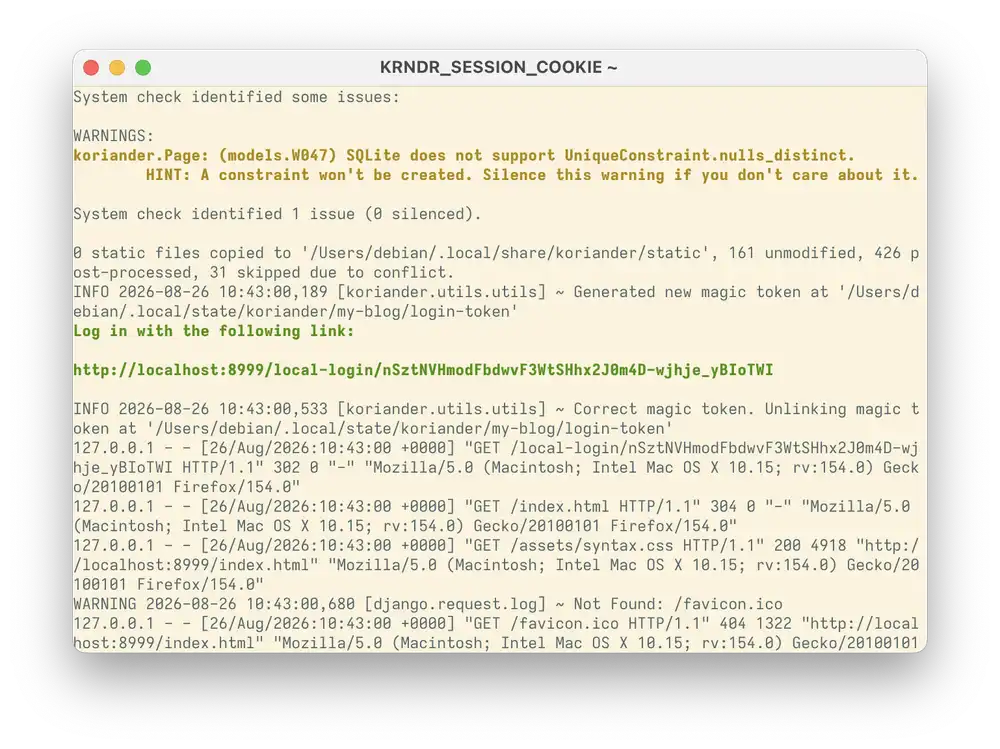
When you launch Koriander CMS, your browser should automatically open the index page. If your browser doesn't open the index page, copy the green address below the Log in with the following link: line and paste it into your browser address bar:
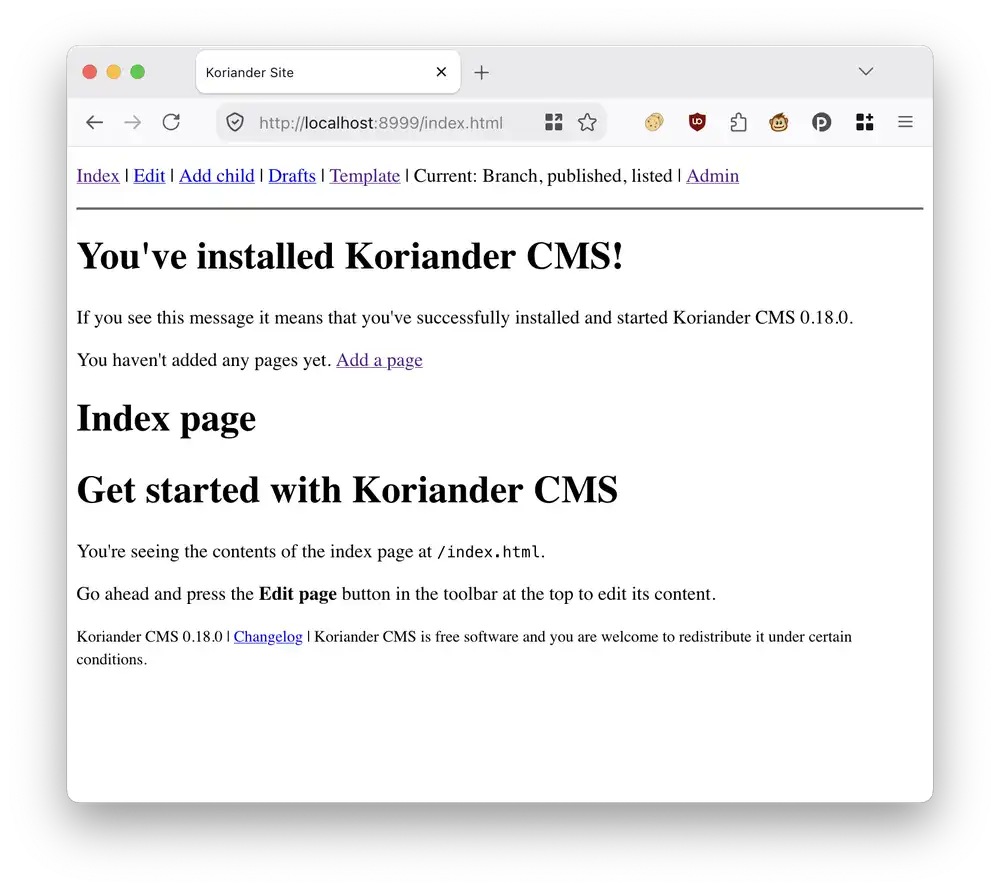
The next picture shows the Koriander CMS index page at /index.html.
Press the Edit link in the top toolbar to edit the page contents:
Edit the index page
You've opened the page editor for the index page. In Koriander, pages use Markdown for formatting. Here's the default index page content when you've just installed Koriander:
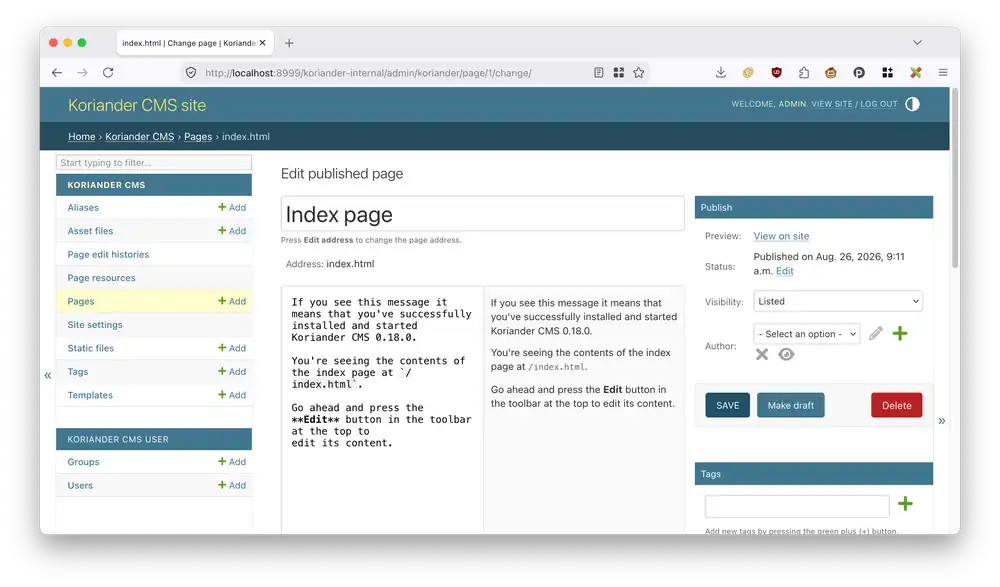
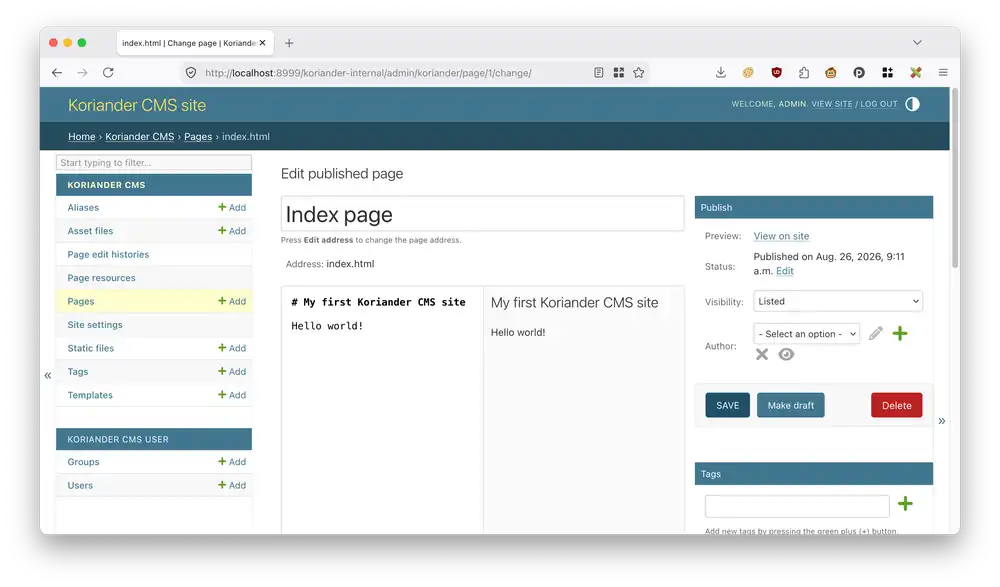
Add your own page content on the left side of the Markdown editor:
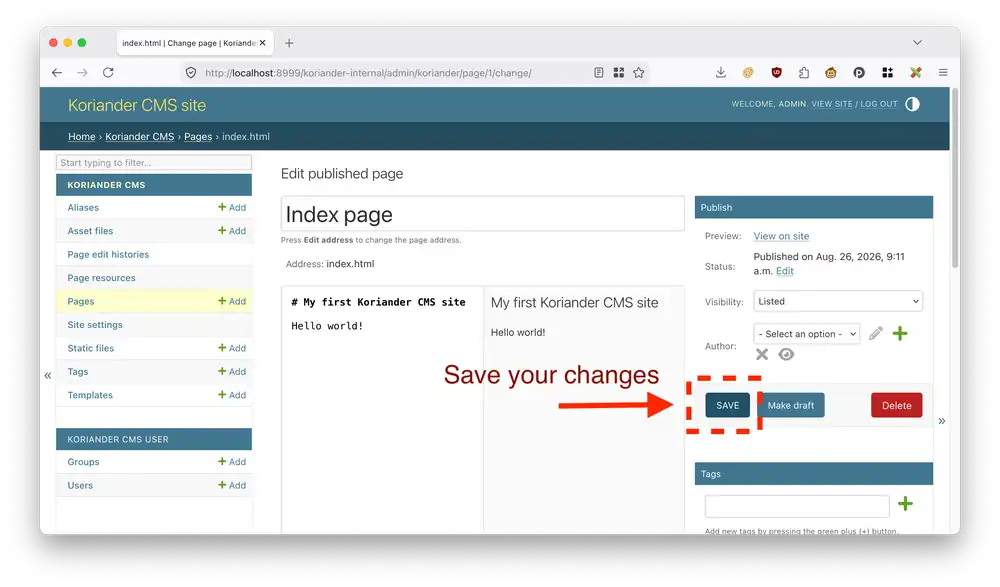
Save your changes by pressing the Save button in the right menu under Publish:
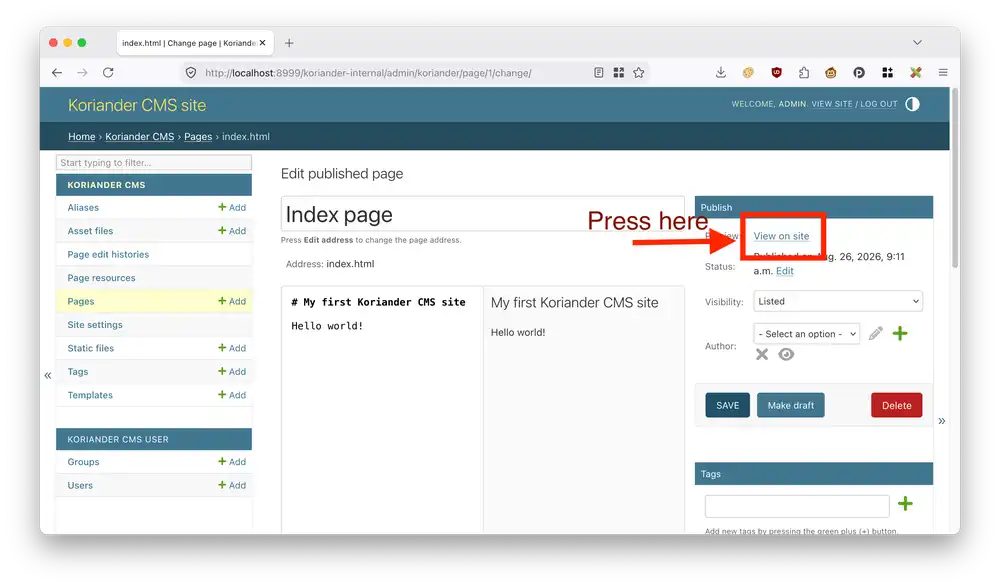
Go back to the start page by pressing the View on site link in the right menu under Publish.
Review your changes
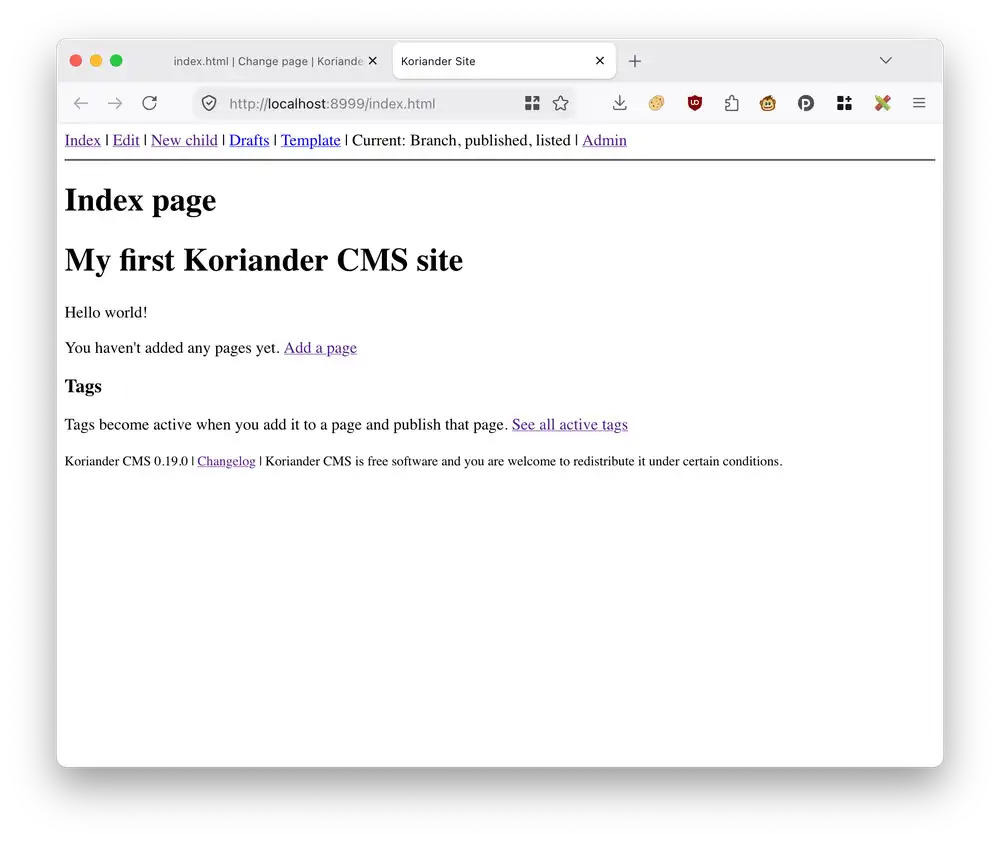
Let's check that your index page changed. This screenshot shows how the index page looks like when the default index page content has changed:
You're ready to set up your AWS resources
Set up AWS resources
In this section we'll set up these AWS resources:
- An Amazon S3 bucket for your site
- An IAM user to control access to your S3 bucket
- A CloudFront distribution to make your site accessible in the browser.
Let's start with the Amazon S3 bucket.
S3 Bucket
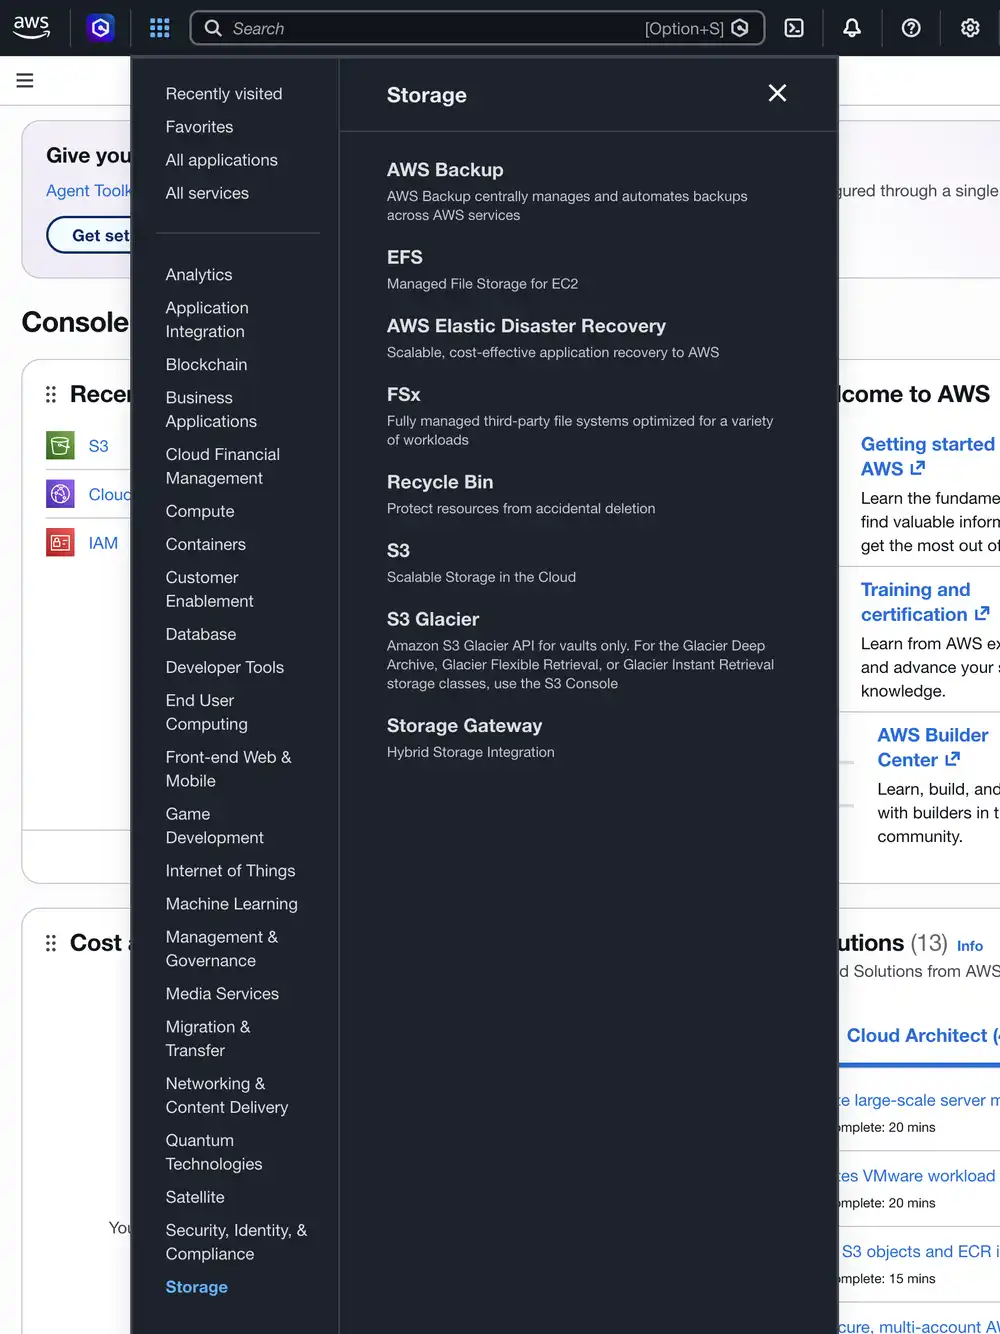
Create an Amazon S3 bucket in your preferred AWS zone6. First, go to the Amazon S3 buckets page in the AWS console:
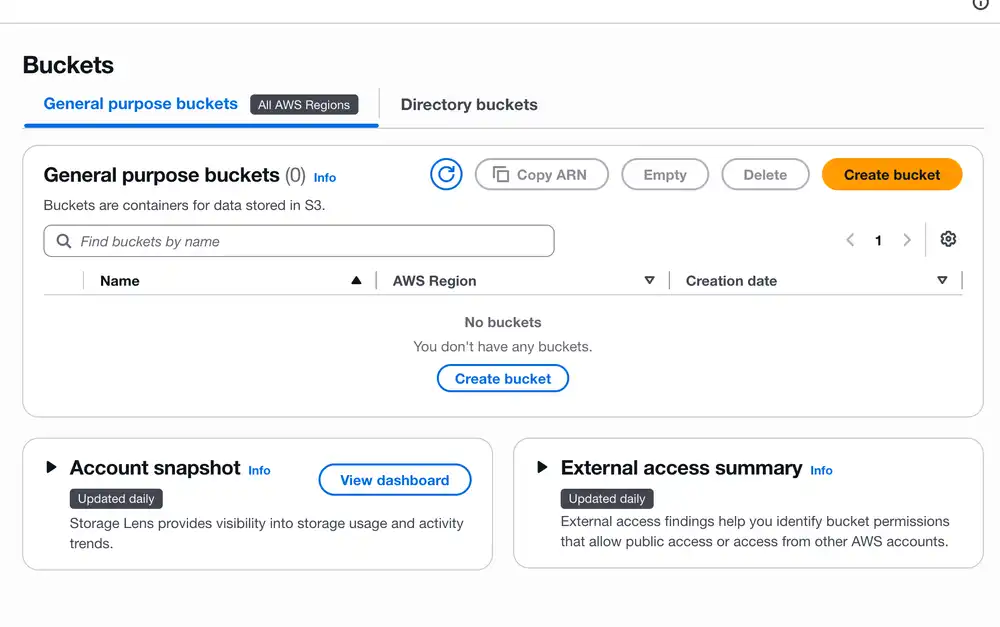
On the Buckets overview page, press the orange Create bucket button:
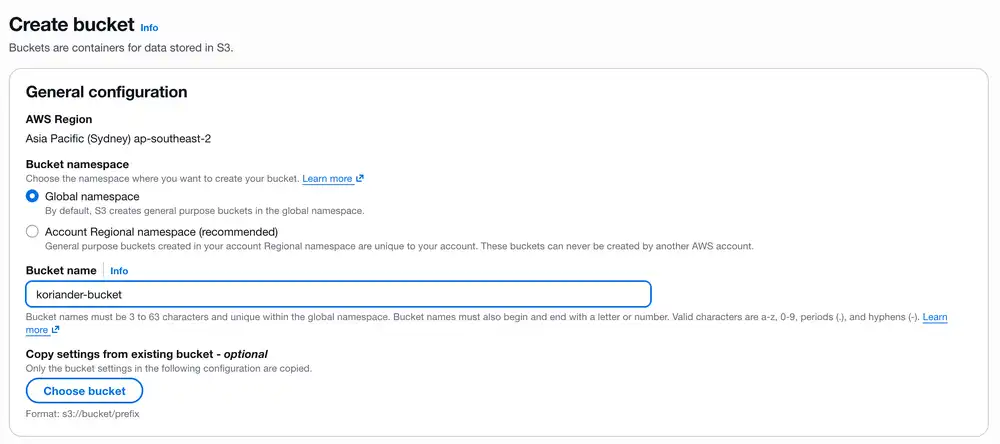
Enter a name for your bucket in the following Create bucket screen:
Scroll down and finish creating your bucket by pressing the Create bucket button:
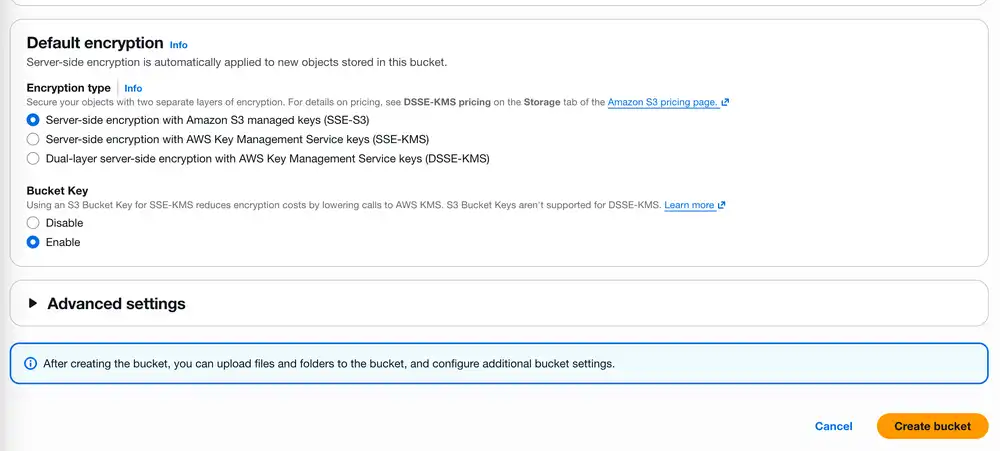
Let's check that you've created your bucket by going back to the Buckets overview in the Amazon S3 console. You should see your newly created bucket right here:
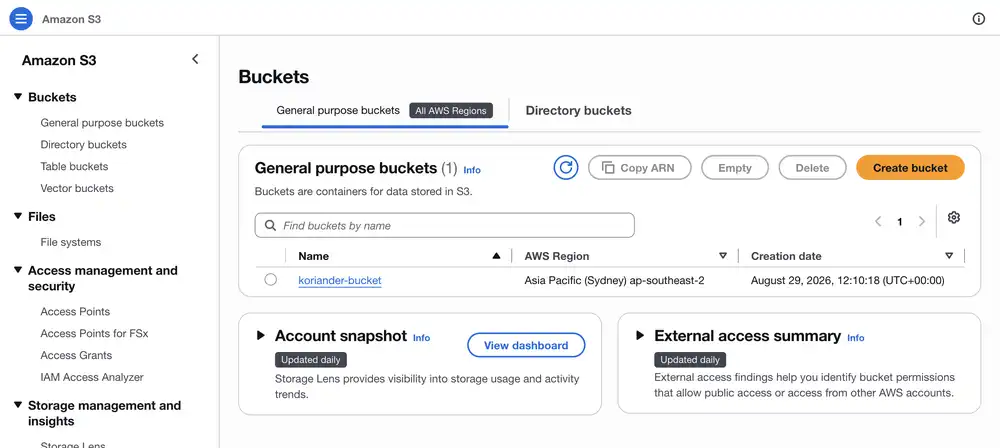
CloudFront Distribution
Now that you've created your Amazon S3 bucket you need a CloudFront distribution to make the S3 bucket contents publicly available. Go to CloudFront in the AWS console.
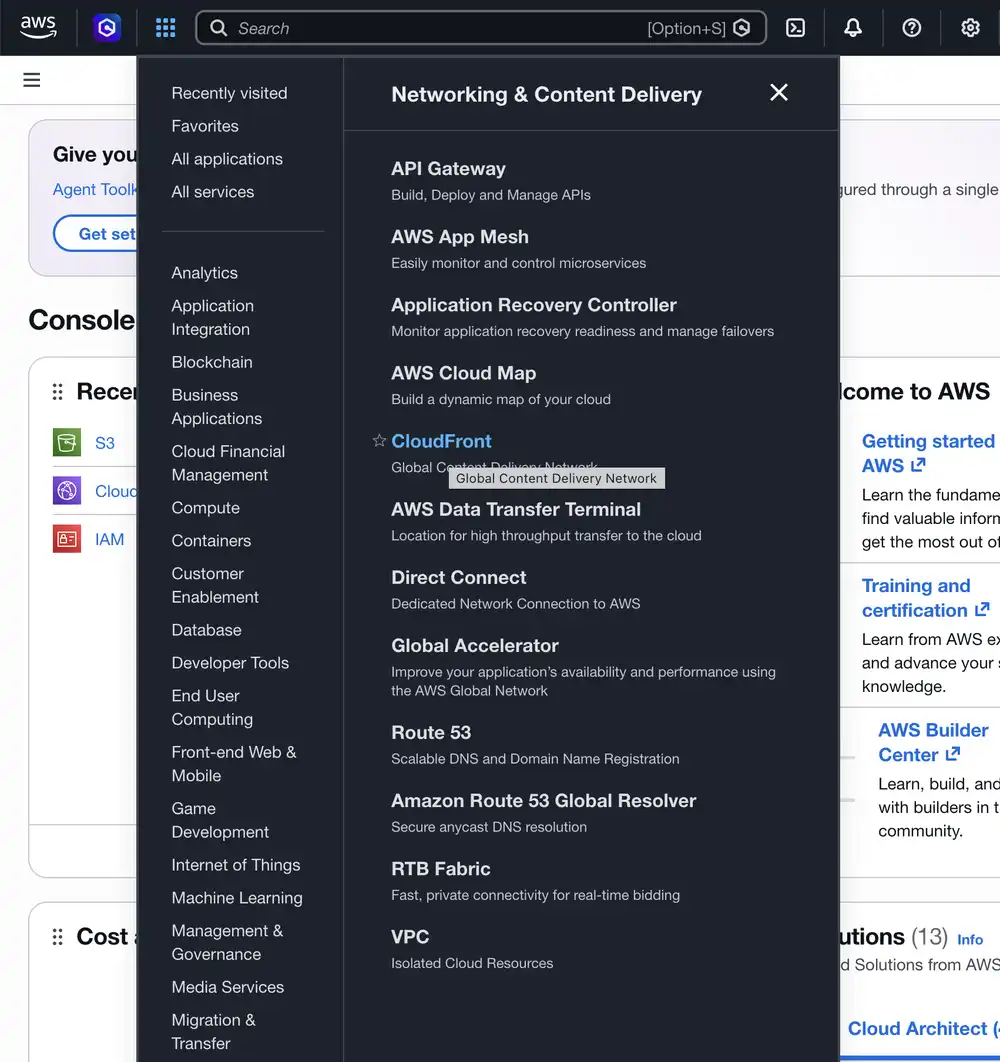
Press the orange Create distribution button to start creating your CloudFront distribution:
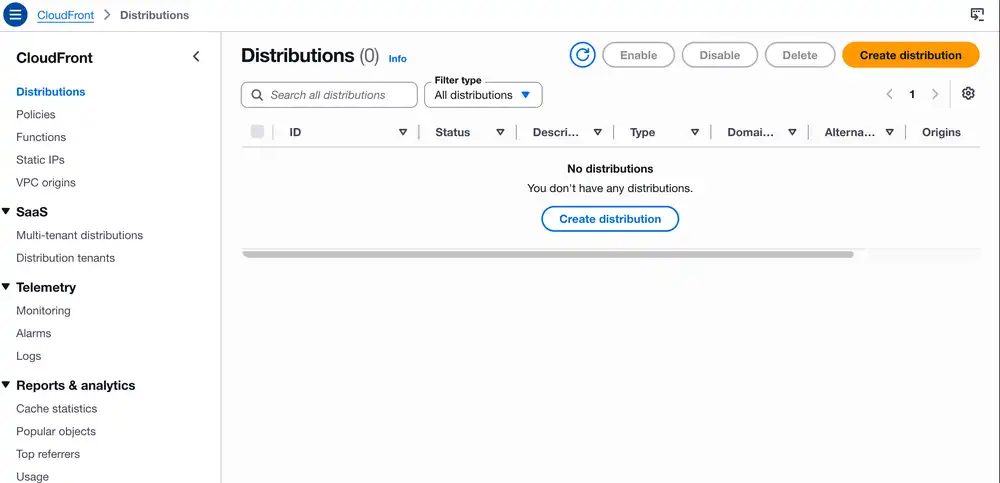
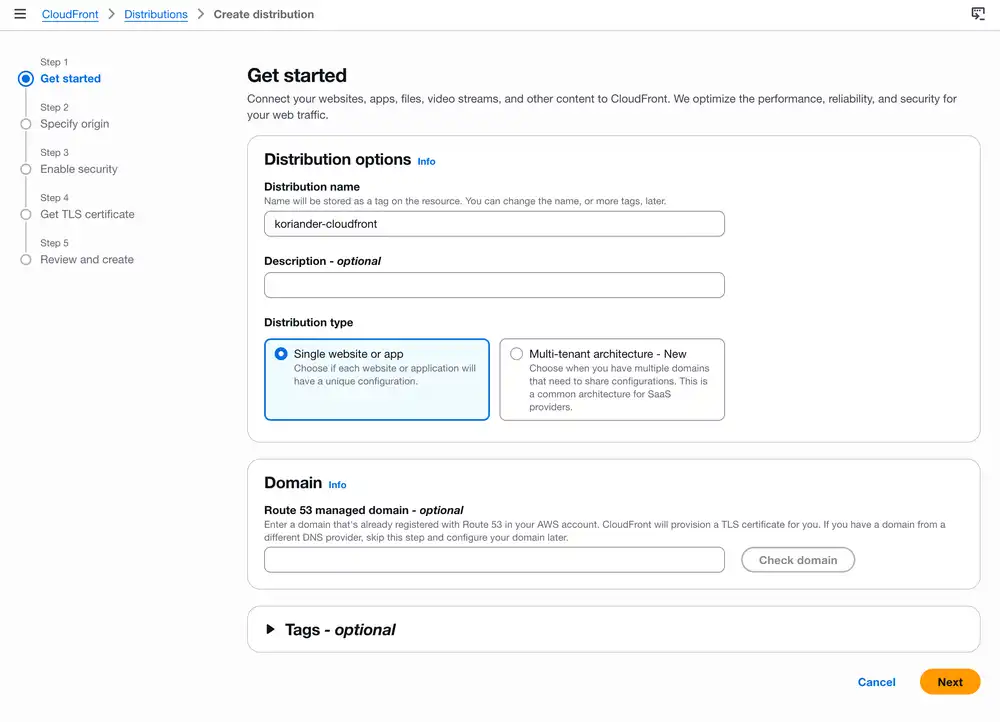
Give your CloudFront distribution a name and press Next. In this example, the distribution name is “koriander-cloudfront”:
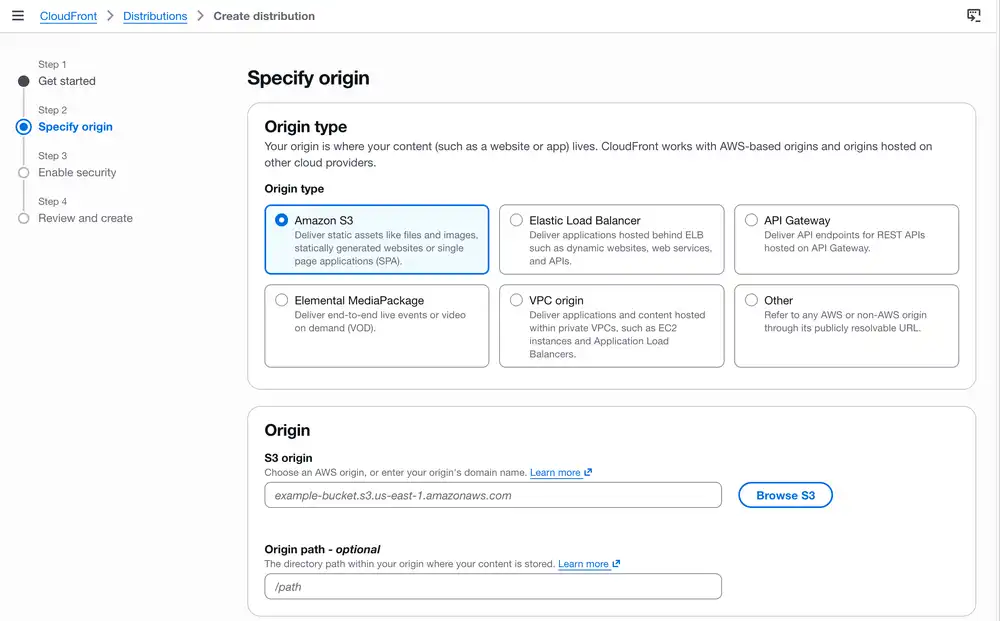
On the next Specify origin screen, make sure that you select Amazon S3 as Origin type and press the blue Browse S3 button:
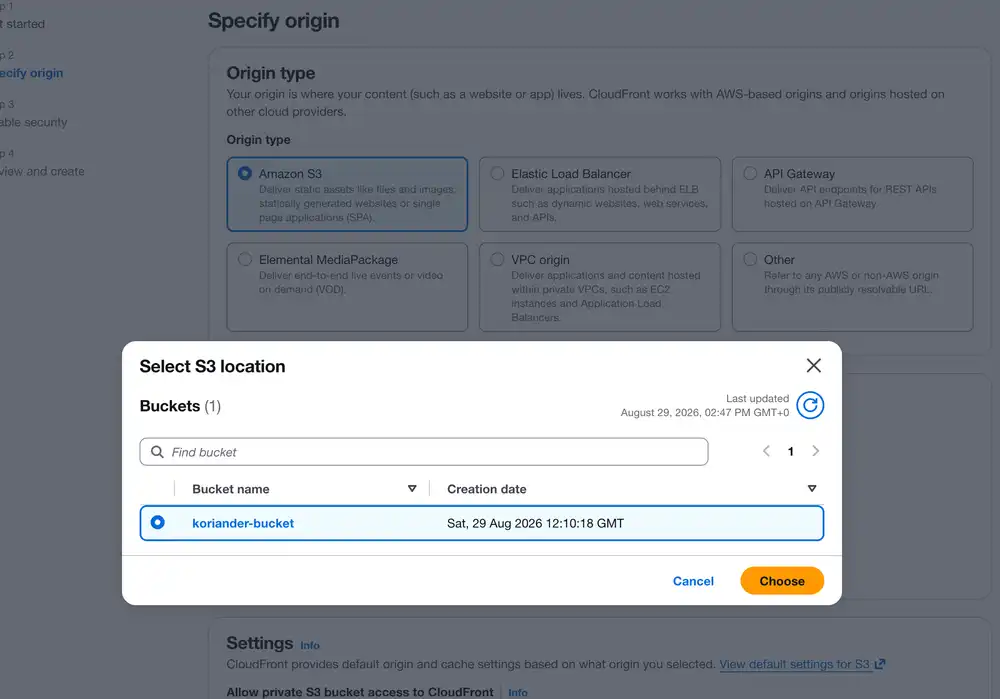
Select your bucket in the S3 Origin popup and confirm with Choose:
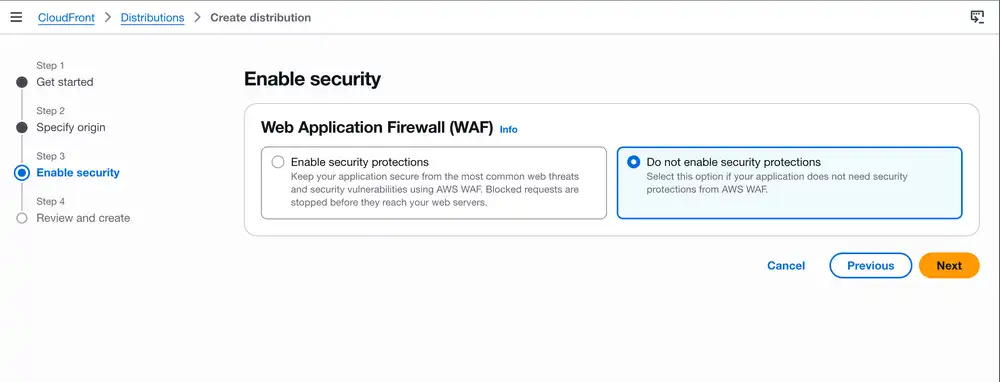
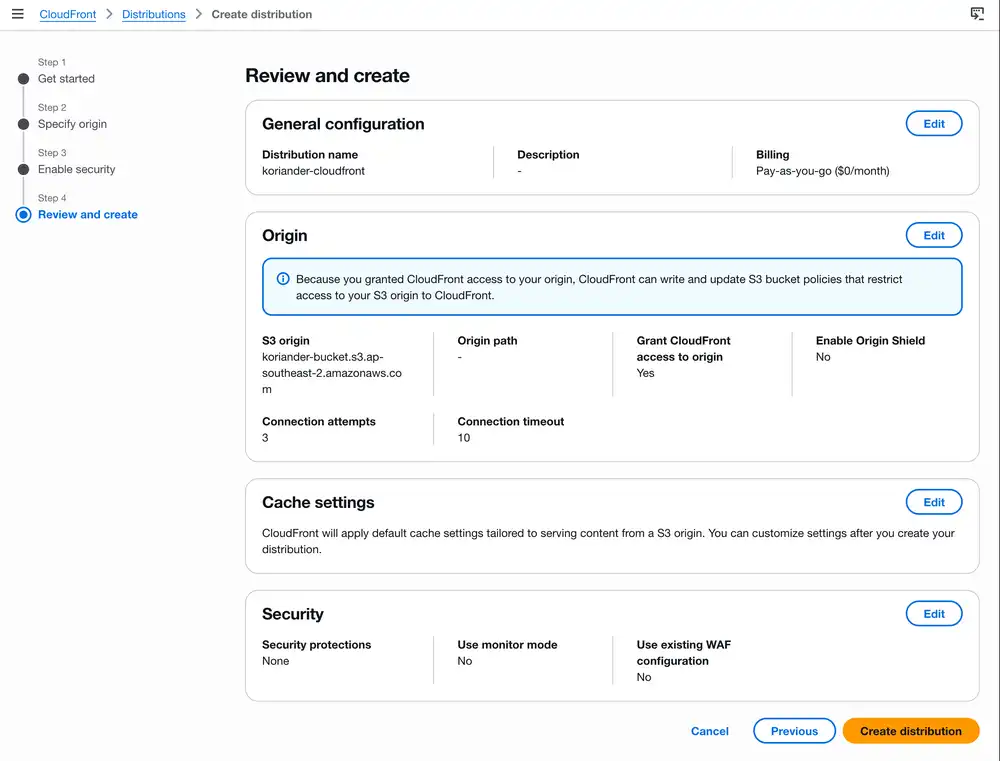
On the next Enable security screen, select Do not enable security protections8, which is enough for just testing CloudFront, and press the Next button:
Finish creating your CloudFront distribution by pressing Create distribution on the next screen:
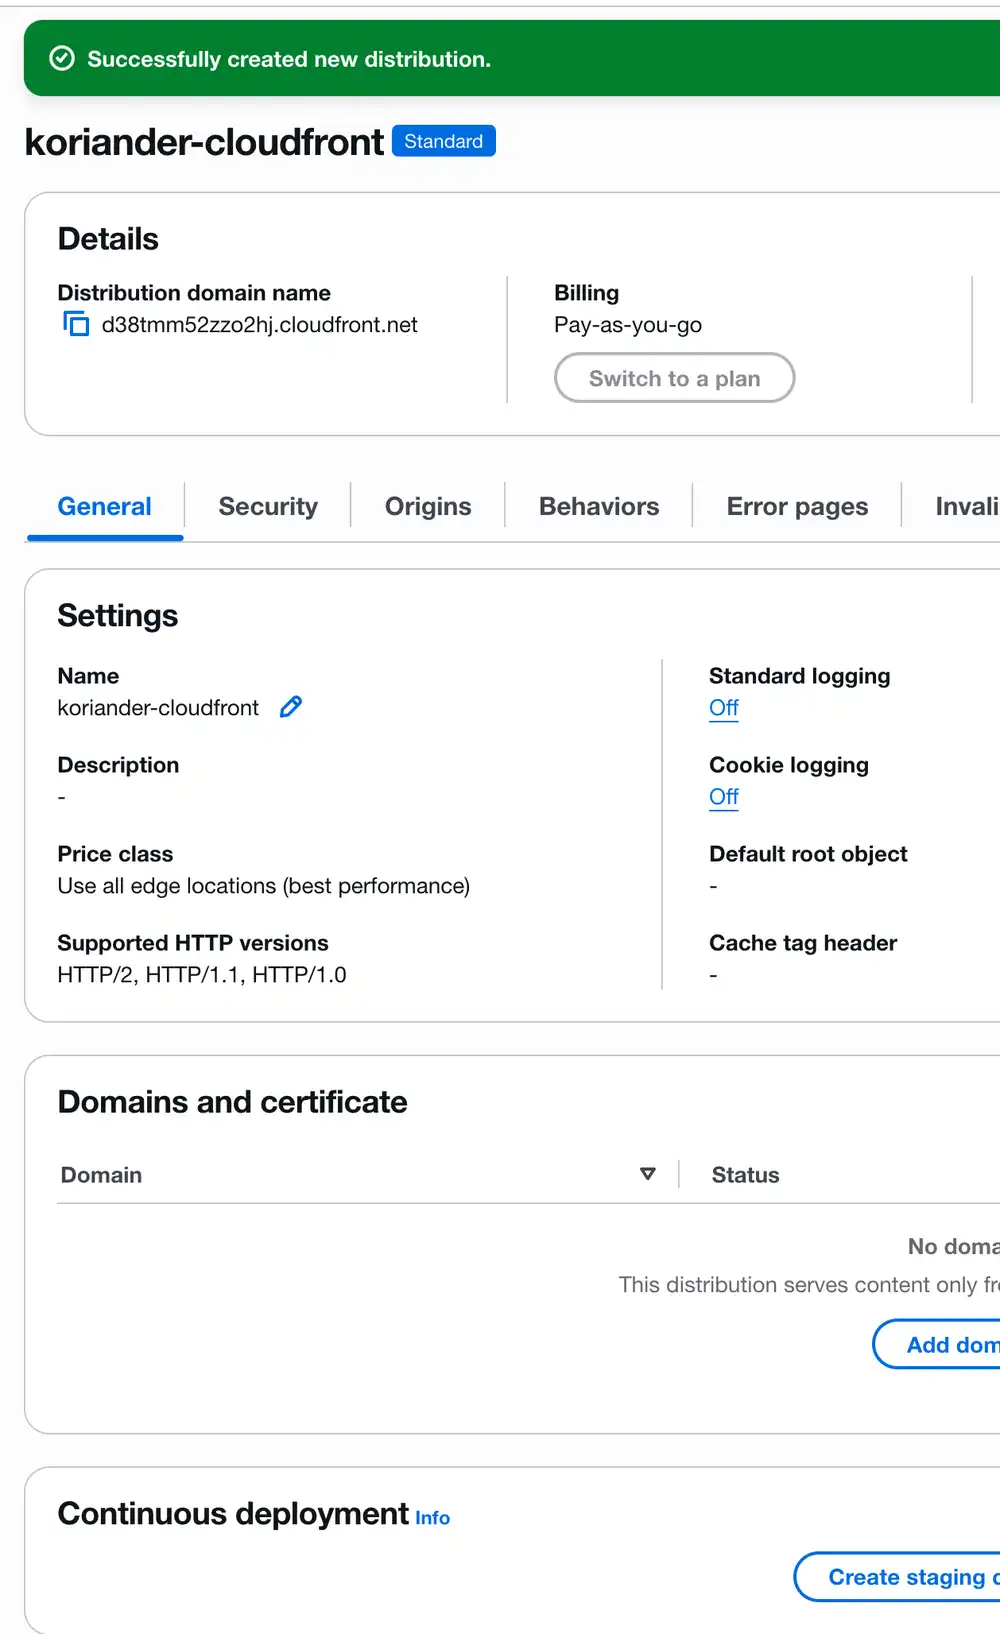
After you press Create distribution, the AWS console should show you your new CloudFront distribution.
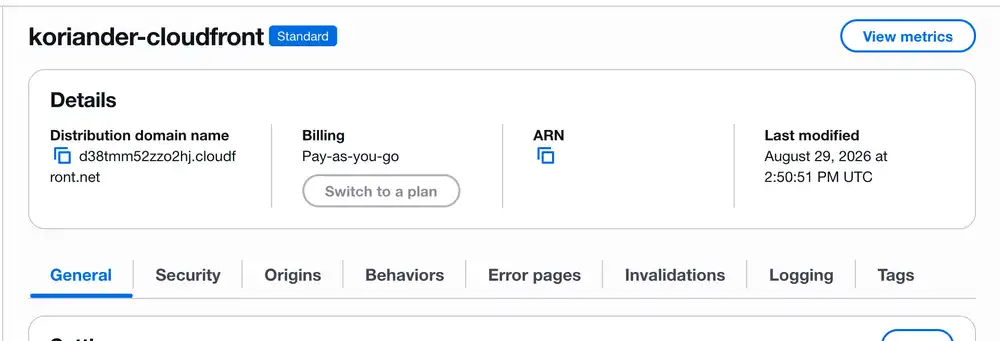
Notice the Distribution domain name ending on “cloudfront.net”. This is where you can access your Koriander site once you've finished uploading it to your S3 bucket.
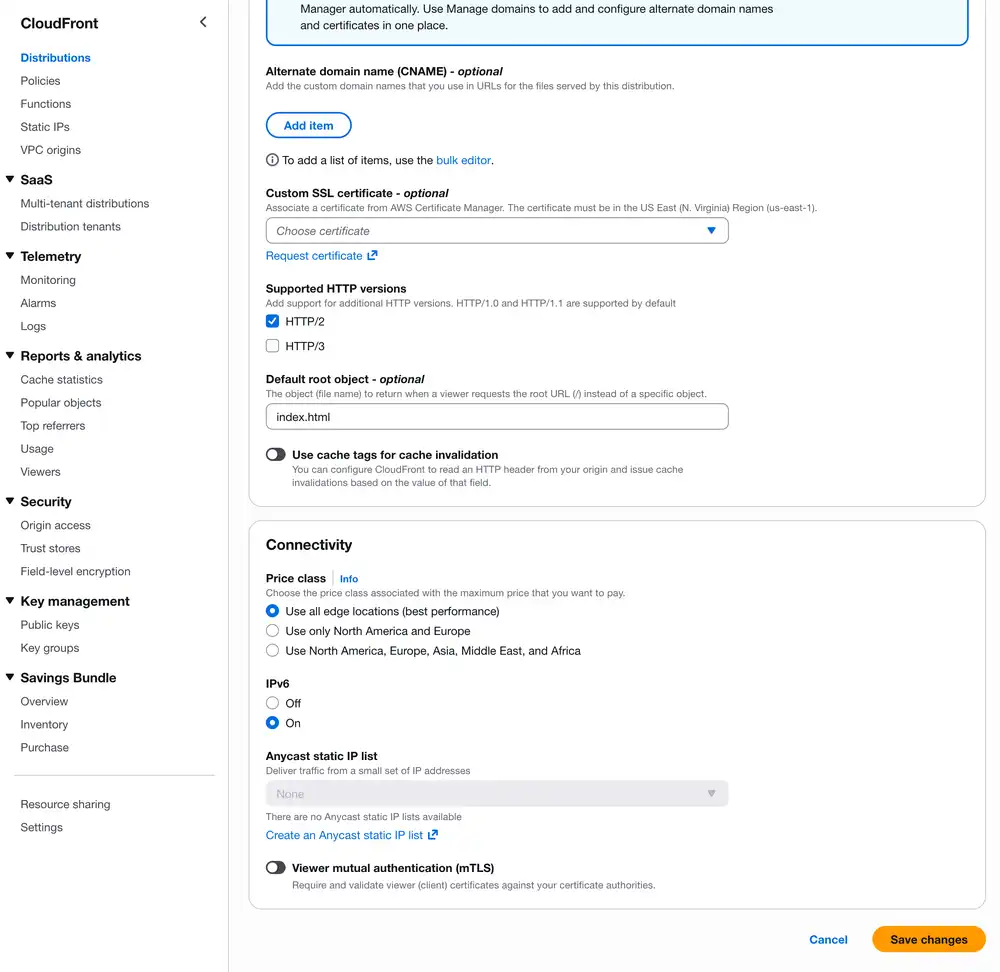
Finally, let's up a root object for your CloudFront distribution. Press the Edit button next to Settings. Enter “index.html” under Default root object - optional. Scroll down and press Save changes.
You're ready to create an IAM user.
Configure an IAM user for your Amazon S3 bucket
In this section you'll create an IAM user to let Koriander access your Amazon S3 bucket. 7
Go to the Identity and Access Management (IAM) console in your AWS account.
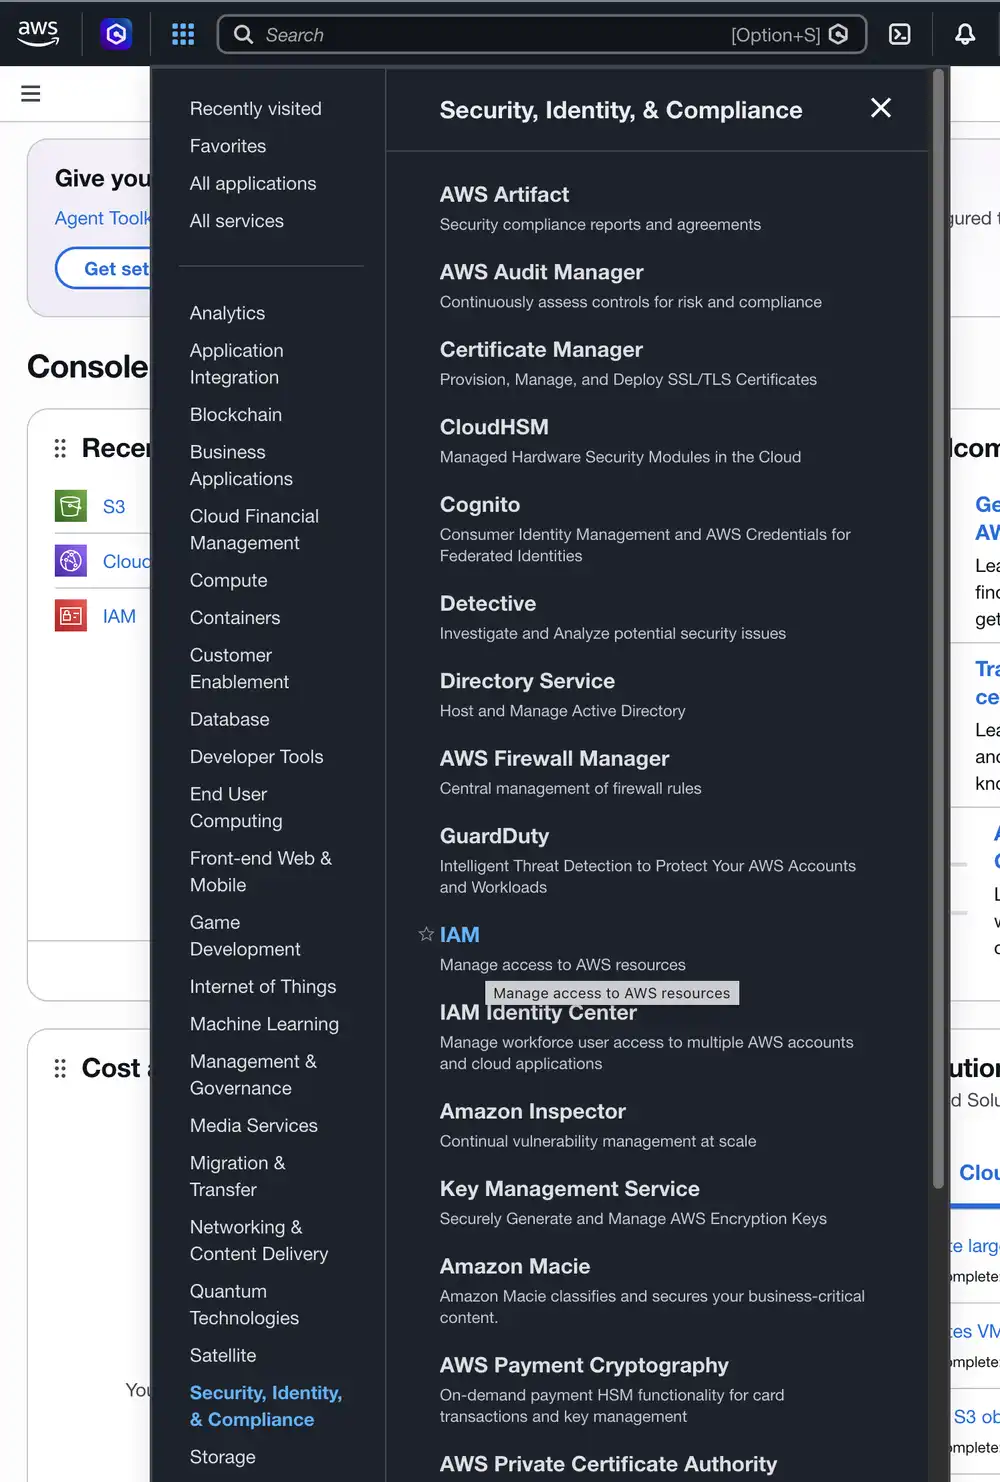
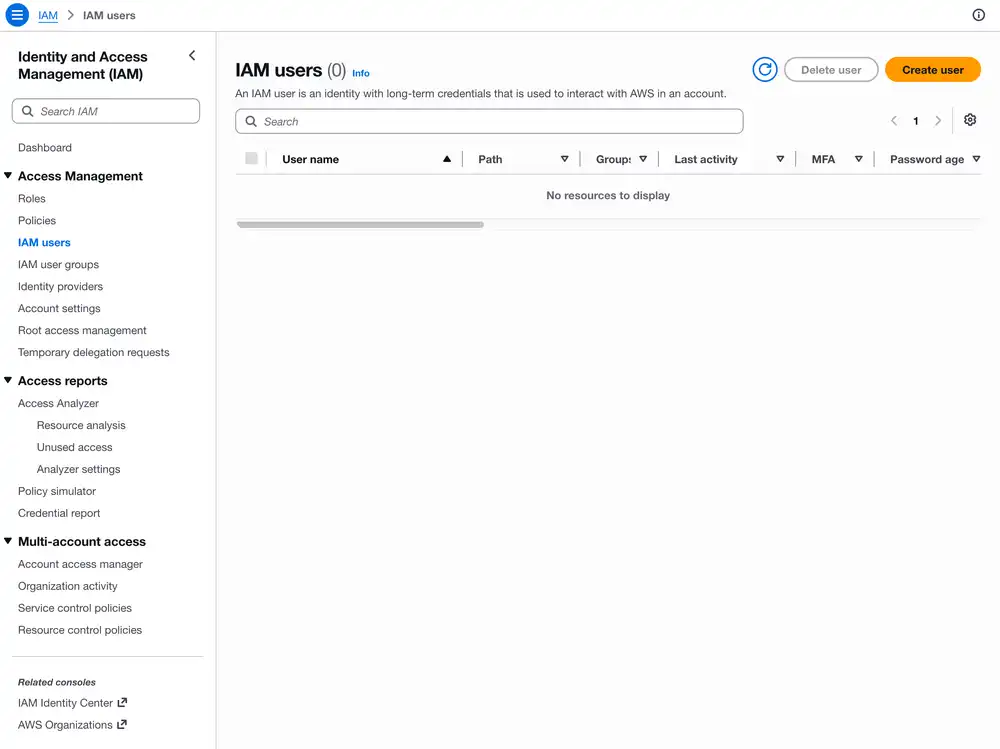
Start creating a user for your newly created S3 bucket by pressing the Create user button:
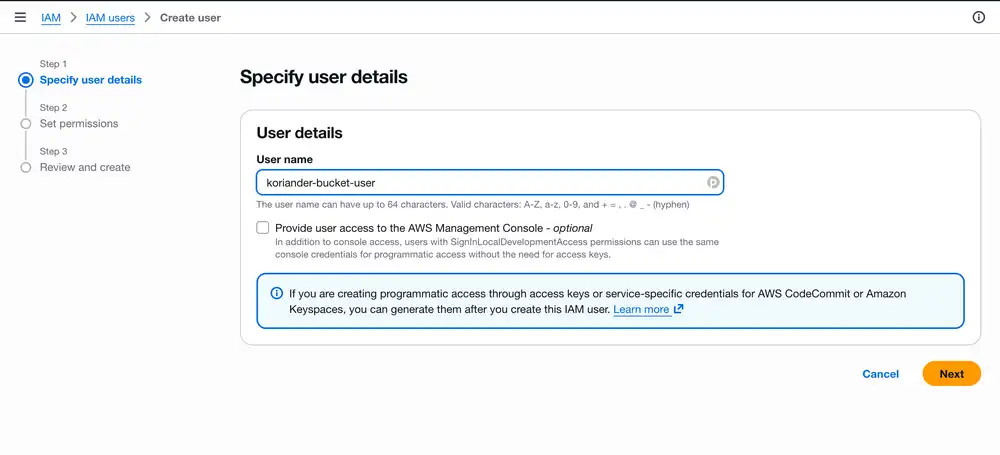
Choose a user name and enter it in the User name field. In this example, the user name is “koriander-bucket-user”. Press Next to continue to the Set permissions screen.
Create a policy for your IAM user
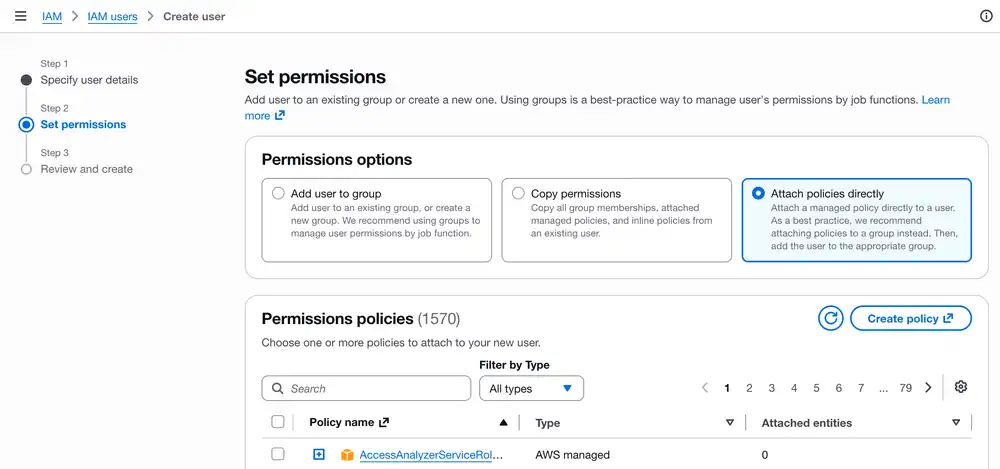
On the Set permissions screen, select Attach policies directly under Permissions options and press the blue Create policy button:
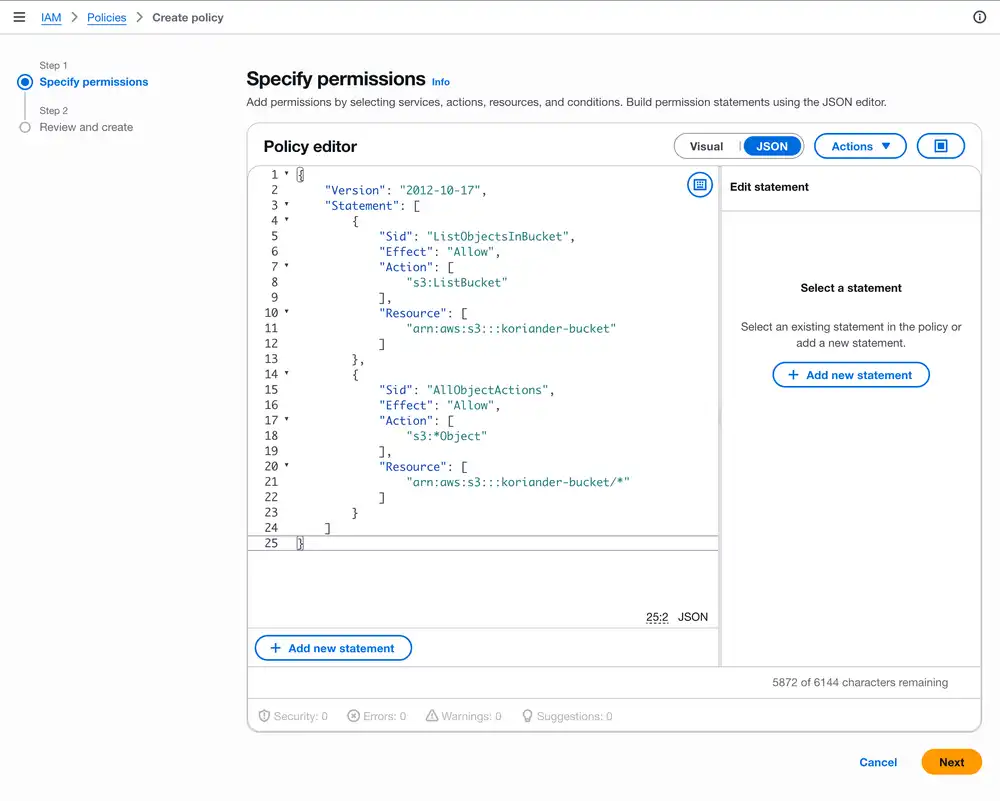
This opens a new window. In the Policy editor, enter the following policy 3 while adjusting the “koriander-bucket” name for the bucket name that you've chosen:
{
    "Version": "2012-10-17",
    "Statement": [
        {
            "Sid": "ListObjectsInBucket",
            "Effect": "Allow",
            "Action": ["s3:ListBucket"],
            "Resource": ["arn:aws:s3:::koriander-bucket"]
        },
        {
            "Sid": "AllObjectActions",
            "Effect": "Allow",
            "Action": ["s3:*Object"],
            "Resource": ["arn:aws:s3:::koriander-bucket/*"]
        }
    ]
}
Here's what it should look like when you enter your user policy. Press Next to continue creating your IAM policy:
On the next Review and create screen, enter a name for the policy and press Create policy:
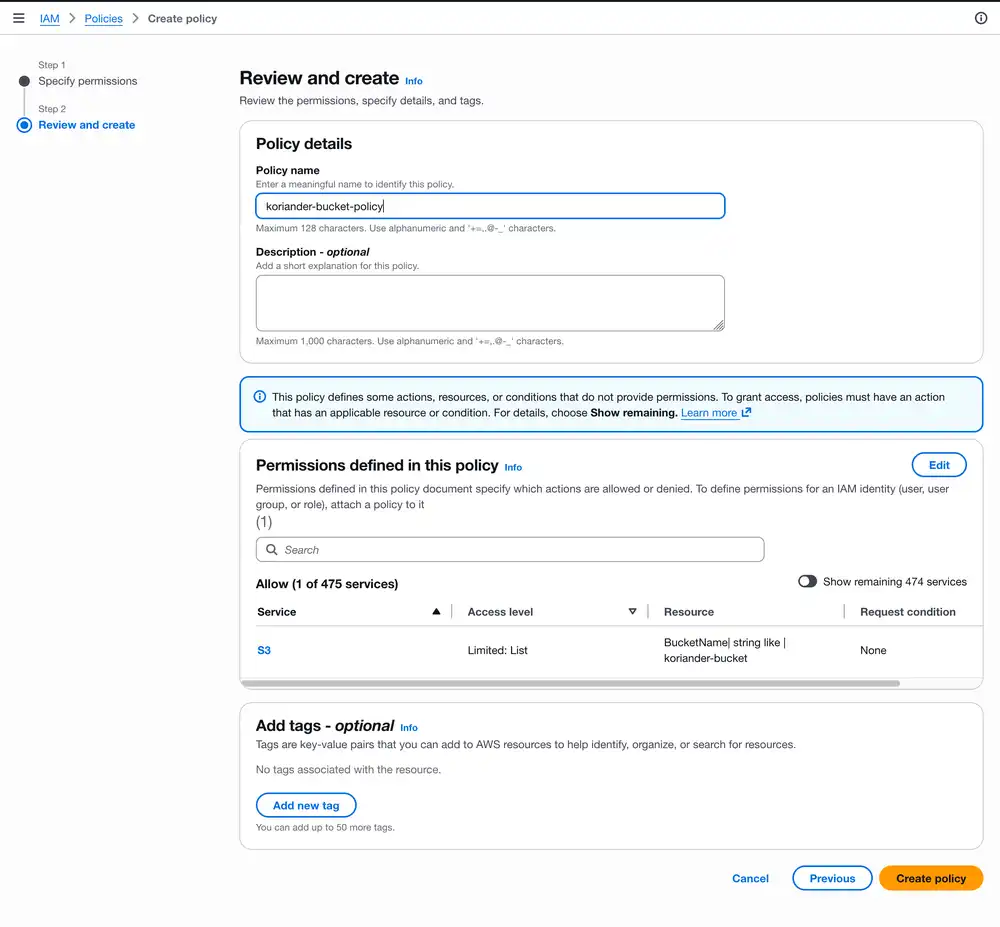
When you press Create policy, IAM takes you to the Policies screen and you should see the follow green confirmation message:
Policy koriander-bucket-policy created
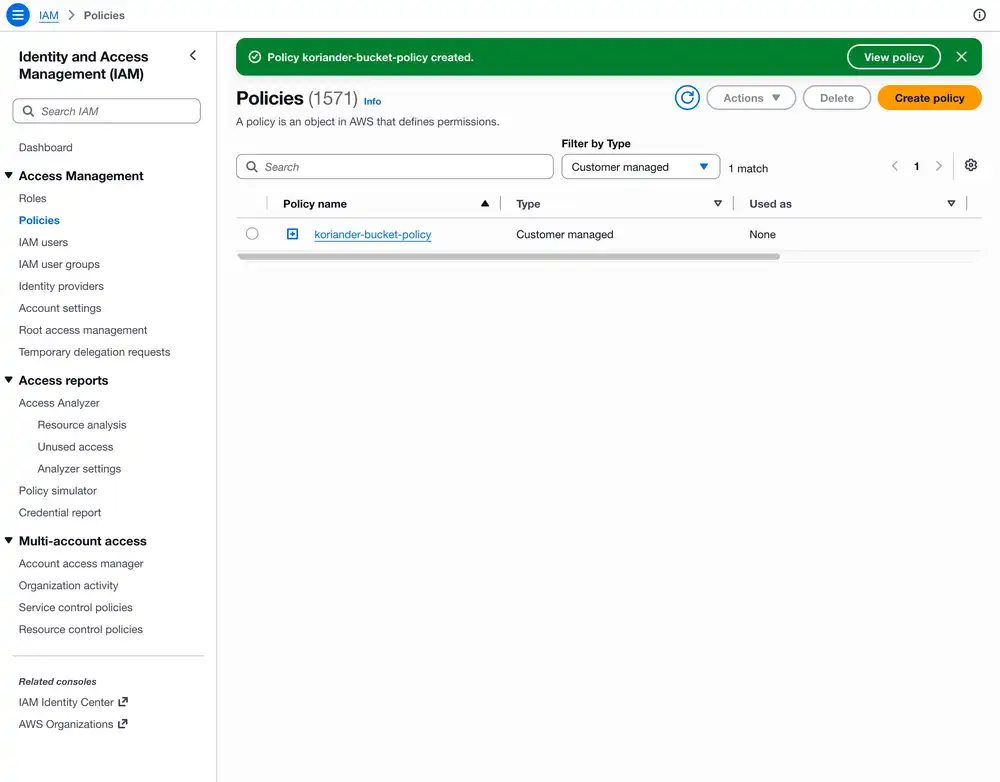
Close this Policies window and go back to the IAM user creation screen.
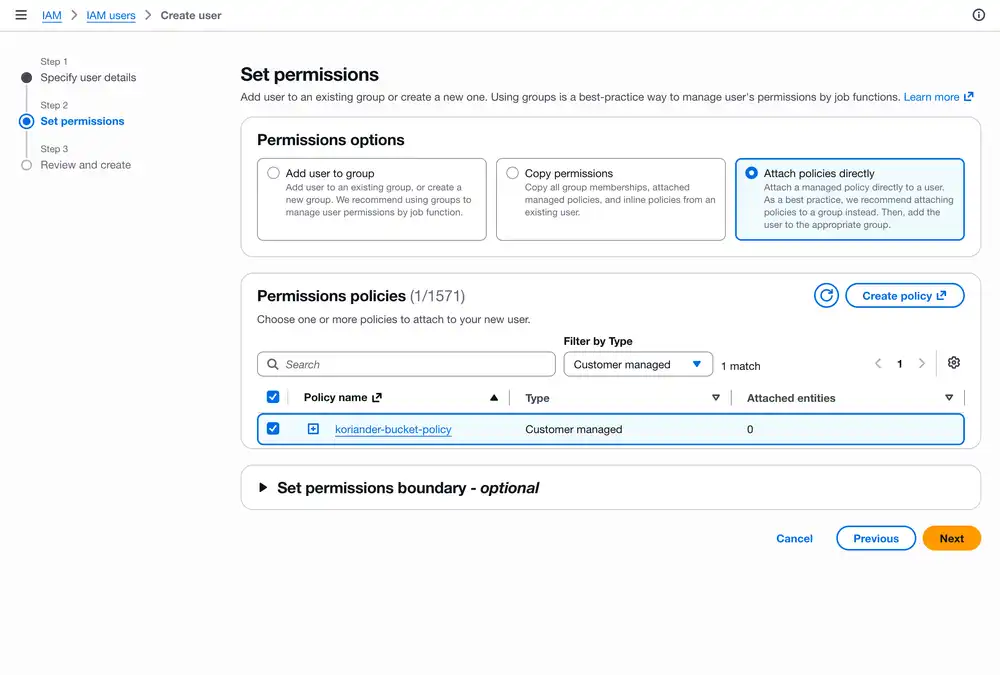
Press the refresh button in the policy selector next to the Create policy button. Attach the “koriander-bucket-policy” to the IAM user by selecting it in the following list and pressing Next:
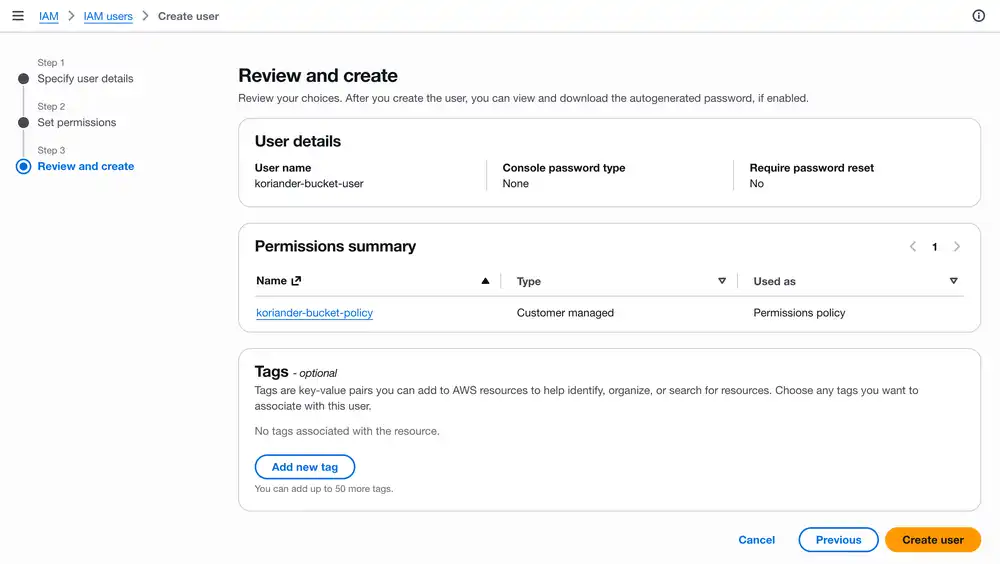
Finish creating your user by pressing the orange Create user button:
Create an access key for your IAM user
You should now see your new “koriander-bucket-user” in the list of IAM users:
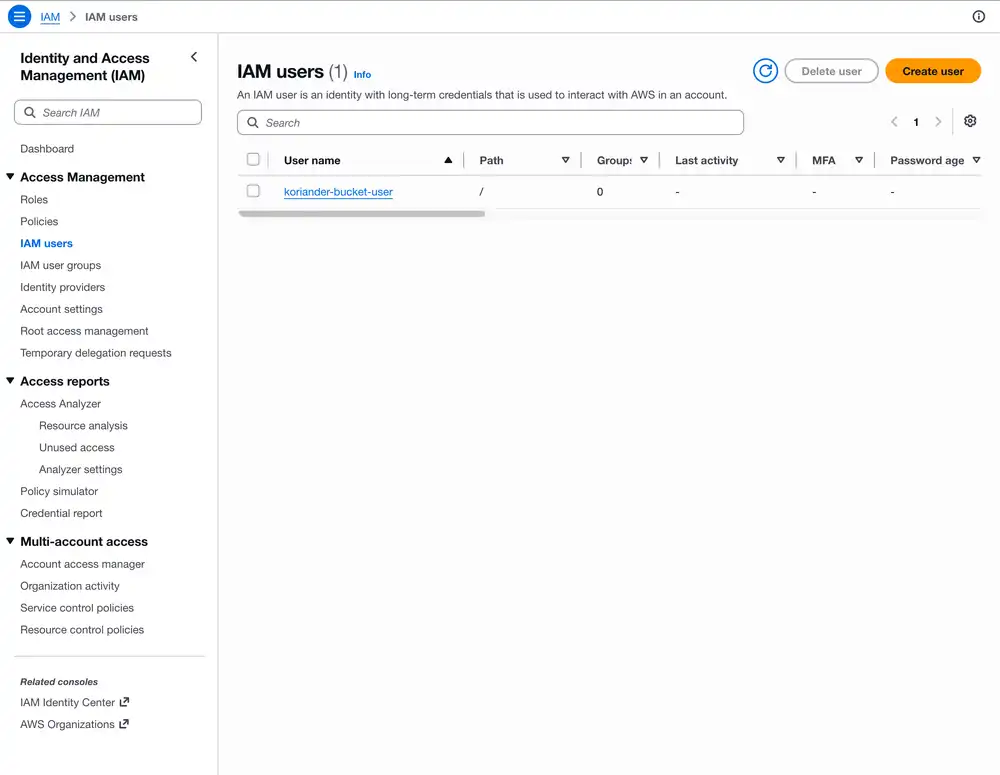
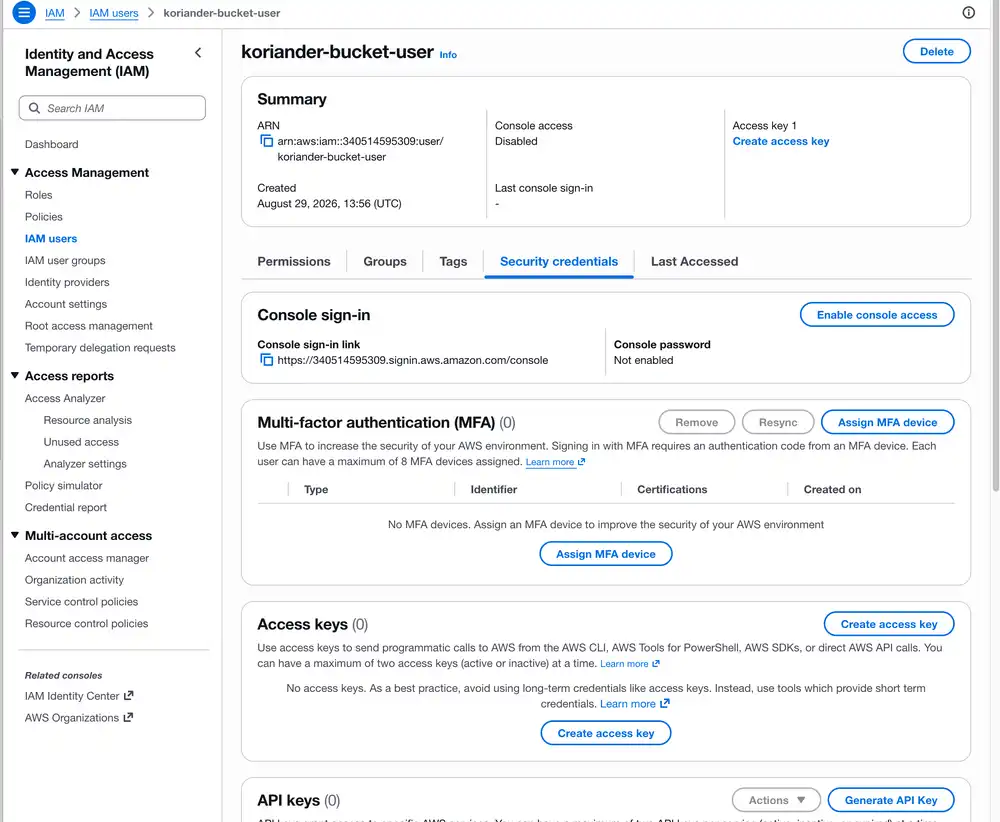
Open your IAM user by pressing on its underlined blue link. In this example the IAM user has the name “koriander-bucket-user”. When you're on your IAM user's page, select the Security credentials tab and press Create access key.
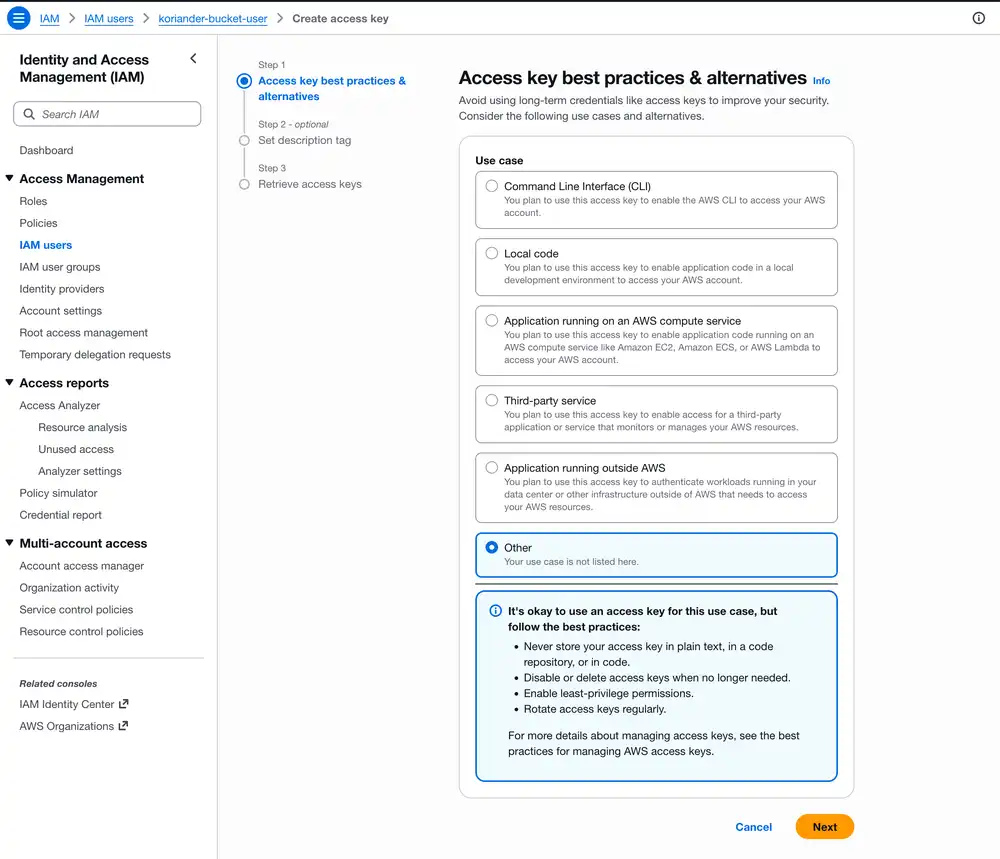
This takes you to the Access key best practices & alternatives screen. Select Other1 as your use case on the next screen and press Next:
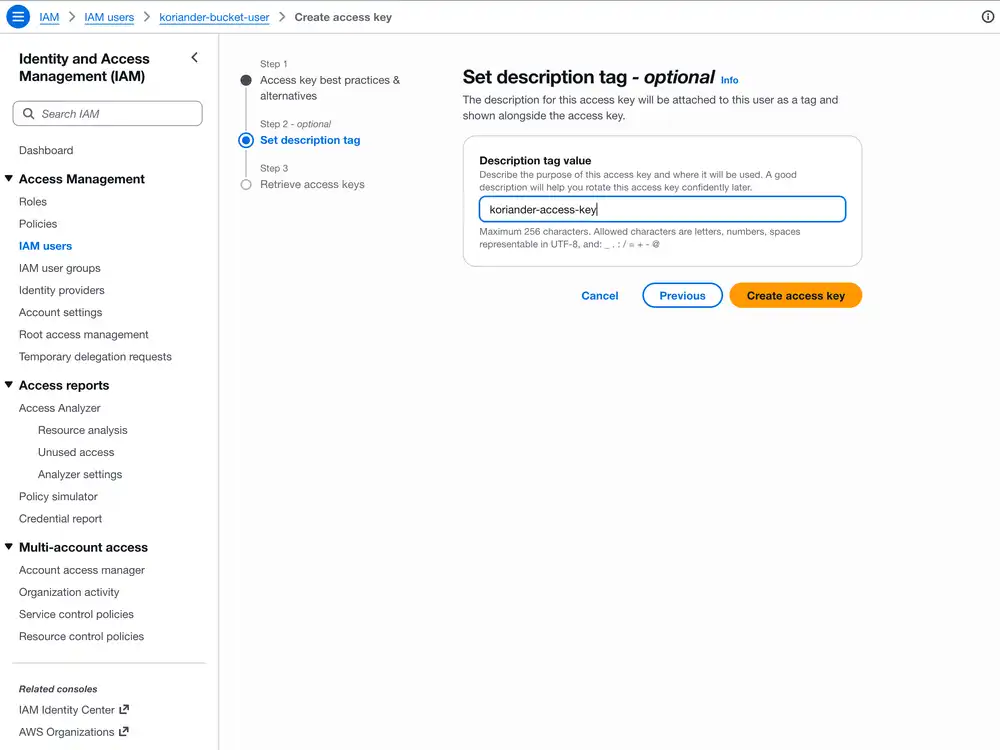
You should now be on the Set description tag - optional screen. Enter a description for your IAM user's access key and press Create access key:
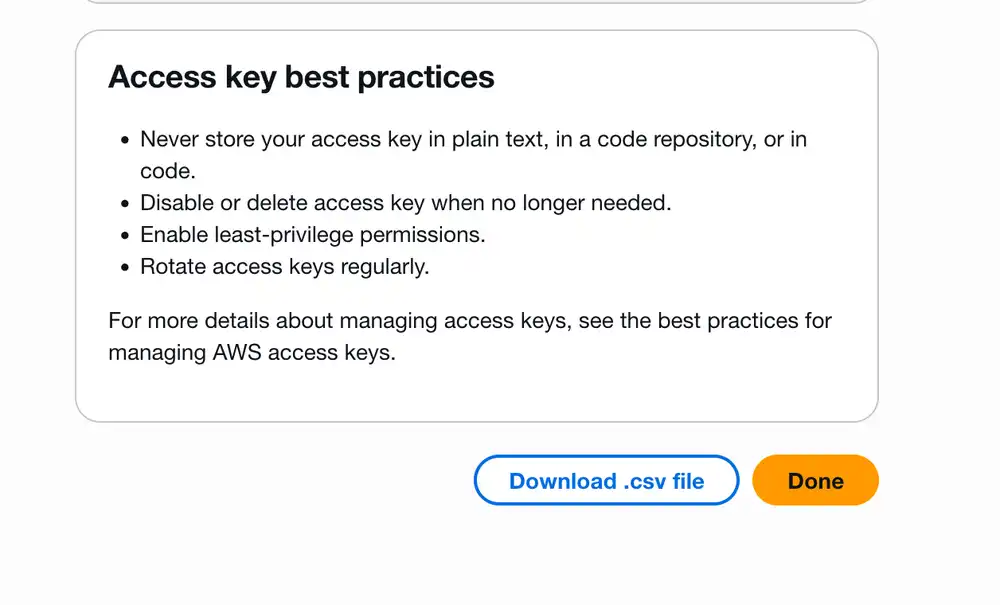
On the next screen, press the Download .csv file button to download your access key:
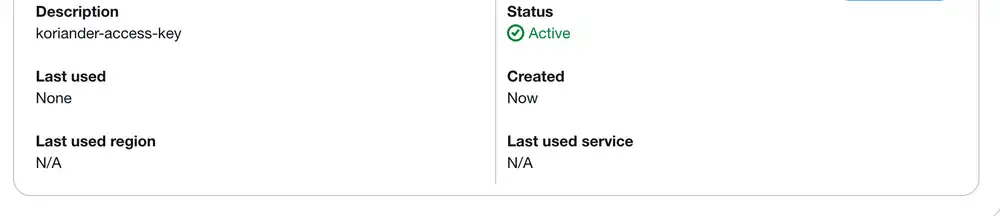
Go to your IAM user's page and select the Security credentials tab again. Confirm that your access key is there. It should say "Active" under Status as you can see here:
Open the .csv file that you've just downloaded. It contains the data for the access key that you've just created. Notice the two columns, Access key ID and Secret access key:
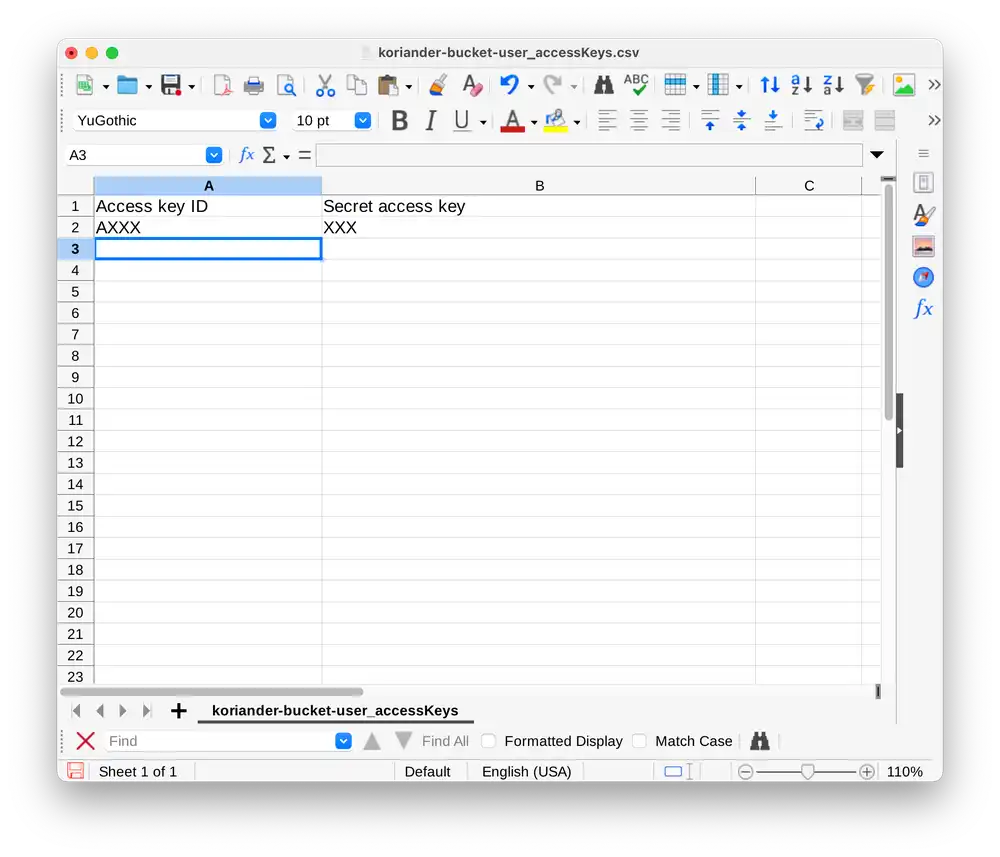
You're going to use the Access key ID and Secret access key in the next step.
Configure S3 uploads in your Koriander CMS site
You've set up everything you need on AWS and you're ready to configure Koriander to upload your newly created site to S3 and publish it with CloudFront. In this section you're going to add your IAM user's access key to Koriander.
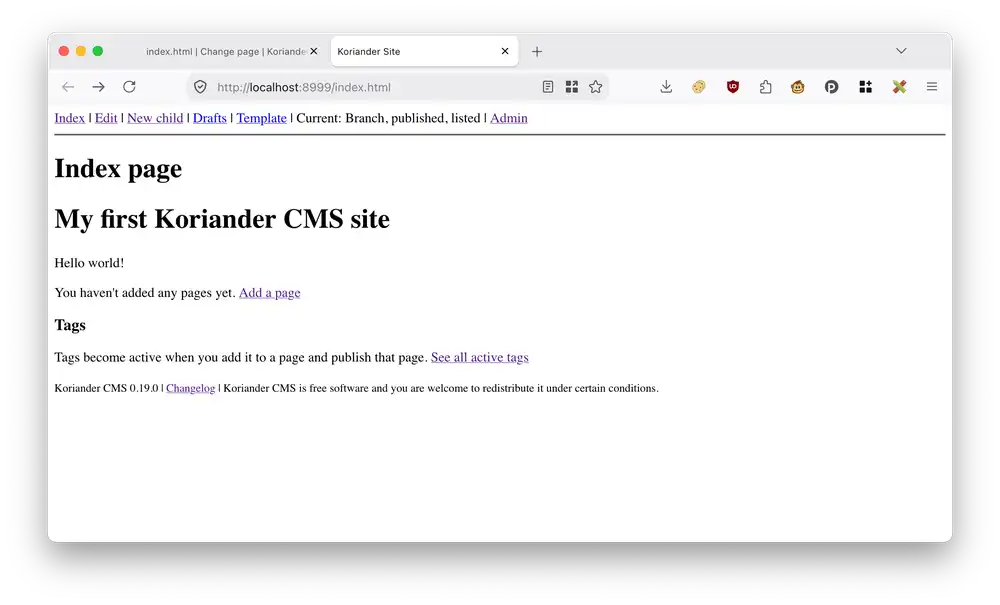
Open Koriander in your browser again if you've closed it. You can click the green log in link from the beginning of this tutorial to open it again. On the index page, go to the administration screen by selecting the Admin link in the toolbar:
In the administration screen, select the Site settings link in the Koriander CMS table.
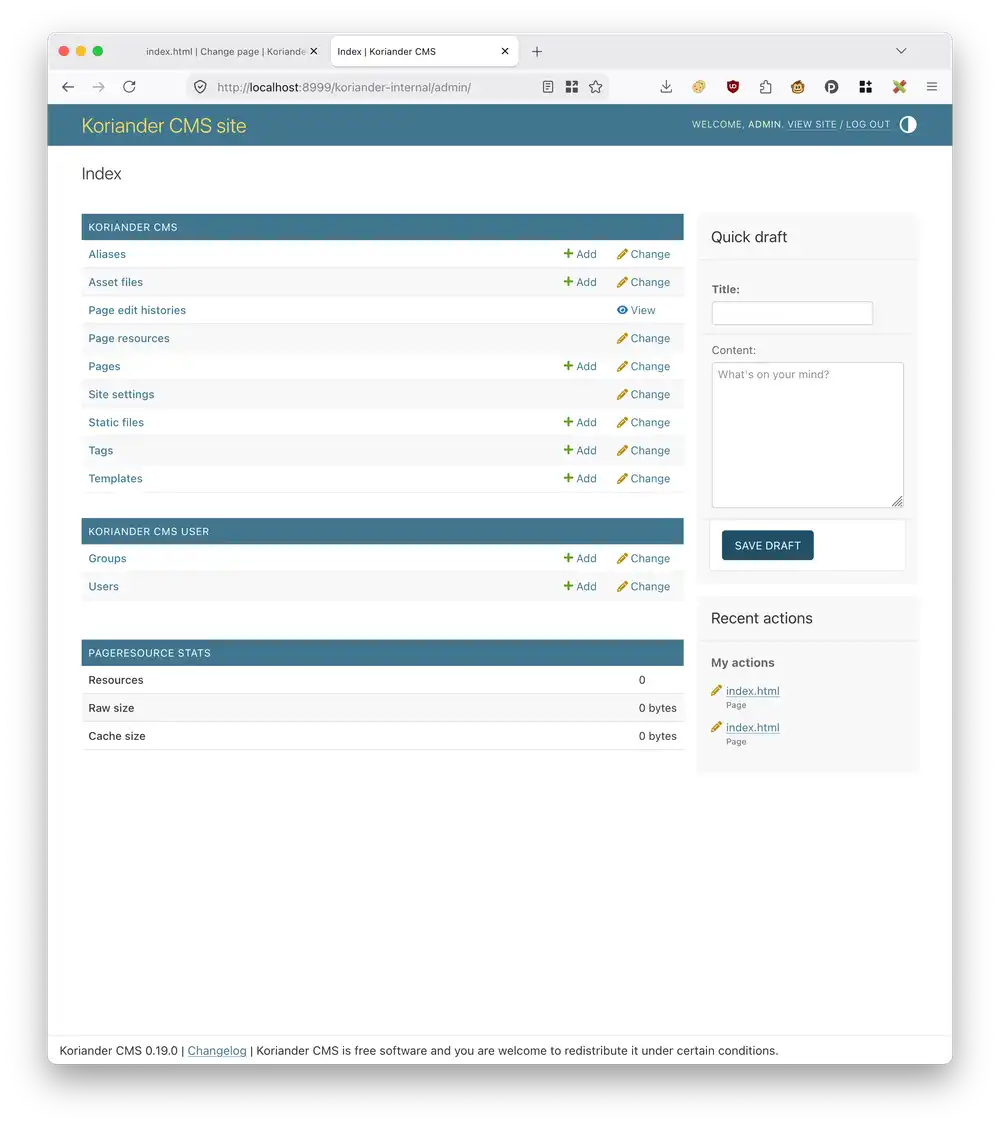
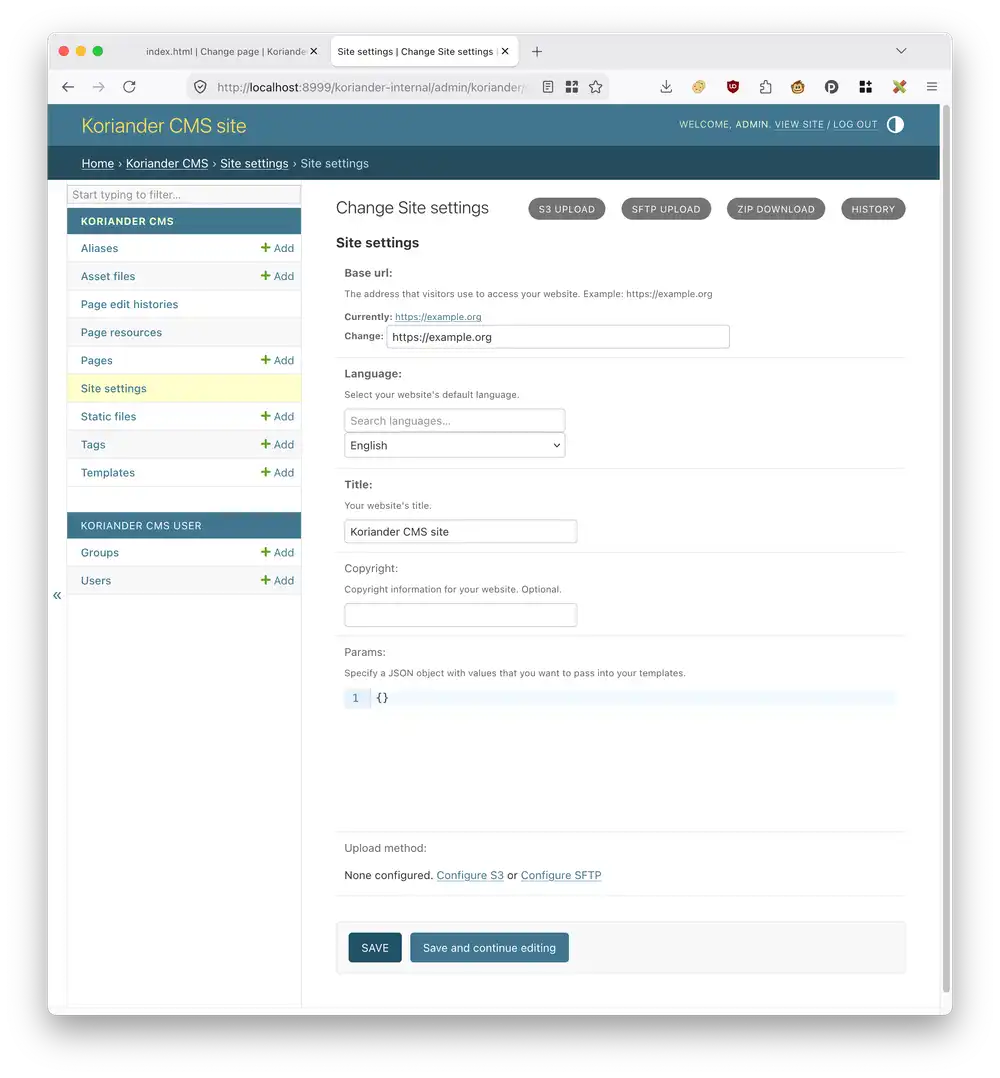
Select the grey S3 upload link next to the Change Site settings title.
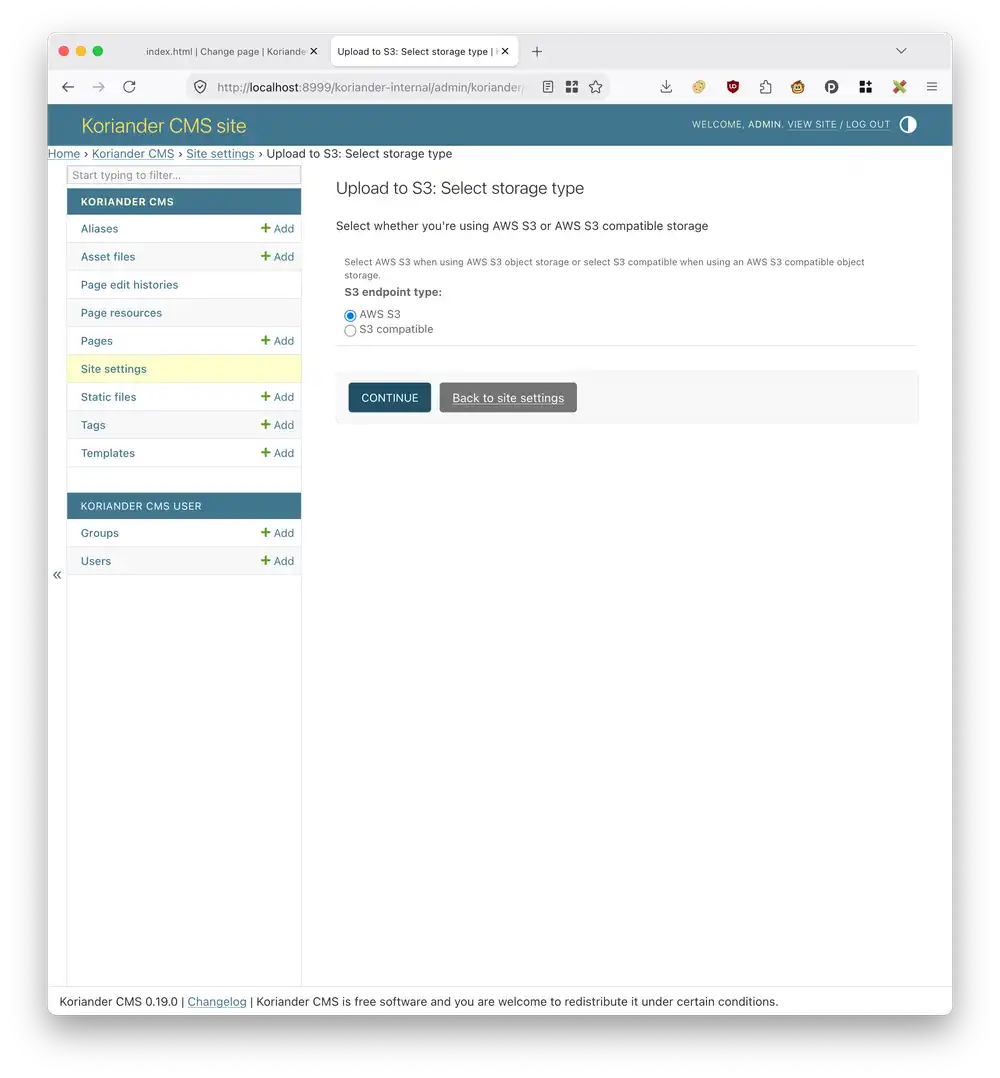
On the next Upload to S3: Select storage type screen, select AWS S3 under S3 endpoint type and press Continue:
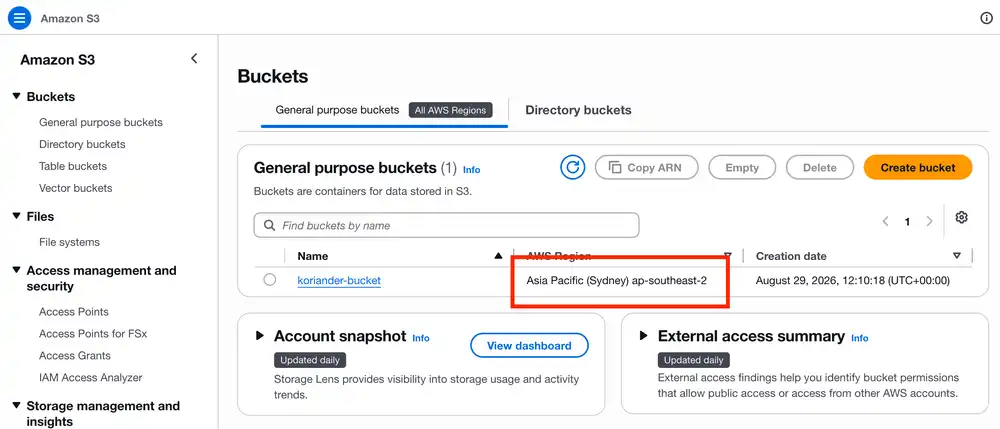
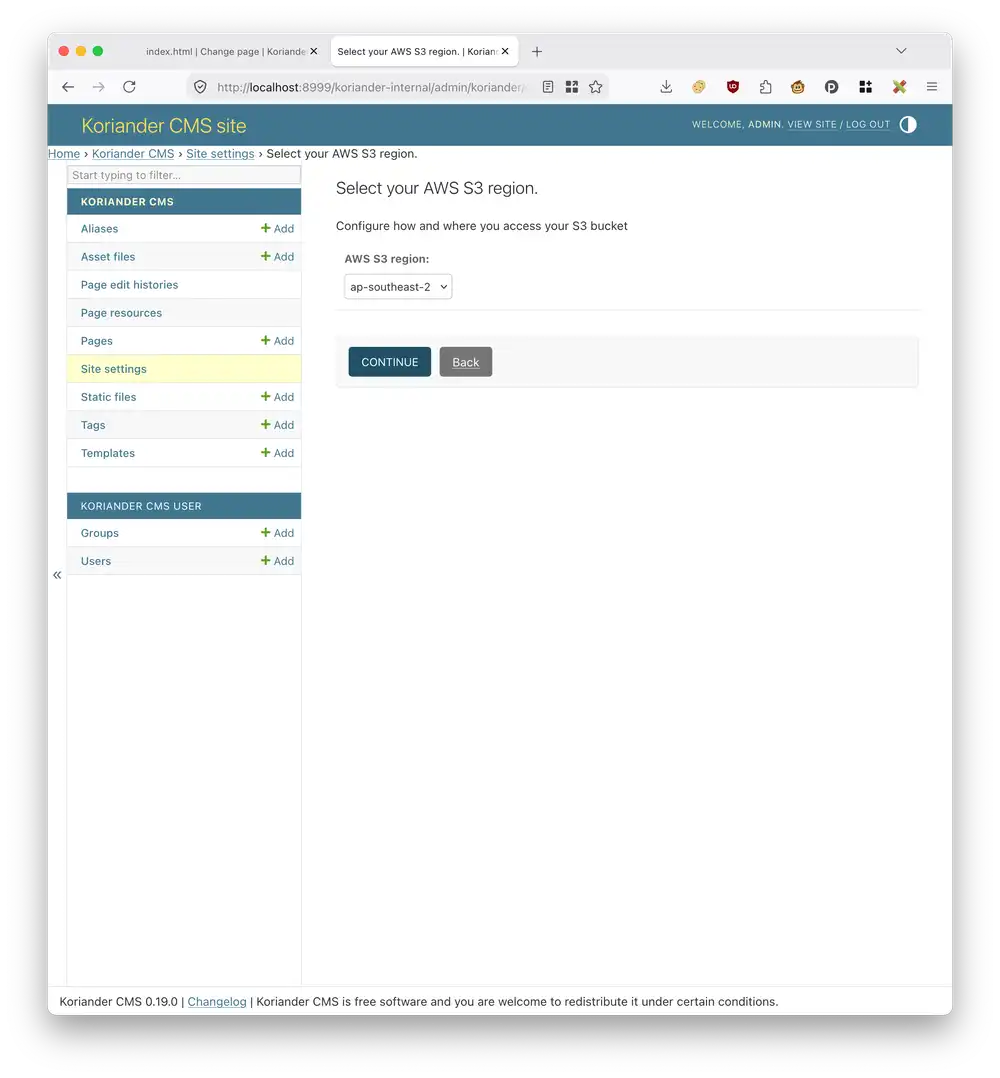
Select your AWS region in the next screen. The bucket in this tutorial belongs to the “ap-southeast-2”2 AWS region. If you're not sure what AWS region your bucket belongs to, go to the Buckets overview in the Amazon S3 console and look at the AWS region field:
Press the Continue button to confirm your AWS region choice:
On the next screen, enter your S3 bucket, S3 access key ID and S3 access key. Under S3 bucket, enter the name of the bucket that you've just created. For S3 access key ID and S3 secret access key, enter the two values from the .csv file that you've downloaded. Press Continue to confirm:
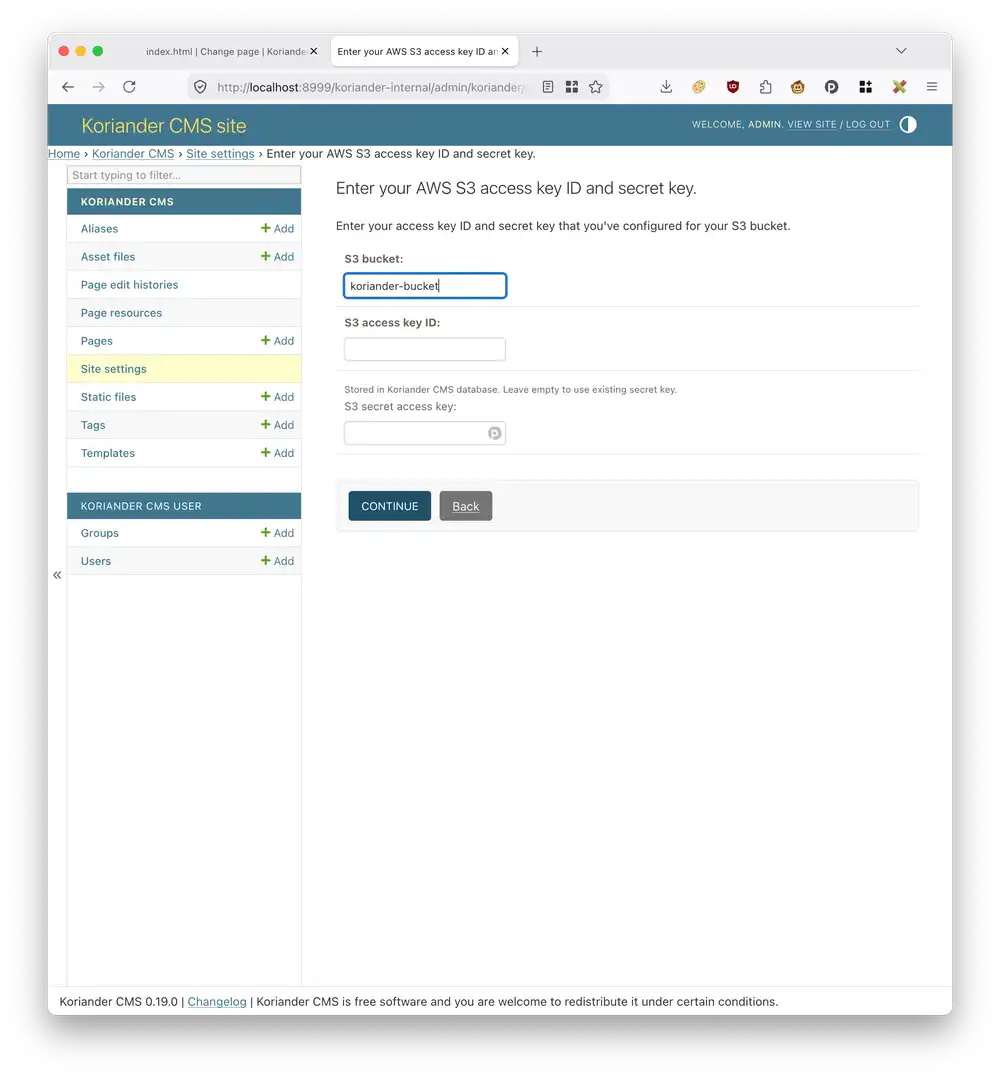
You're ready to upload your site to S3 and publish it with CloudFront.
Upload to Amazon S3
Pressing Continue should take you to the Upload to S3 screen. Select Dry run5 and press Upload.
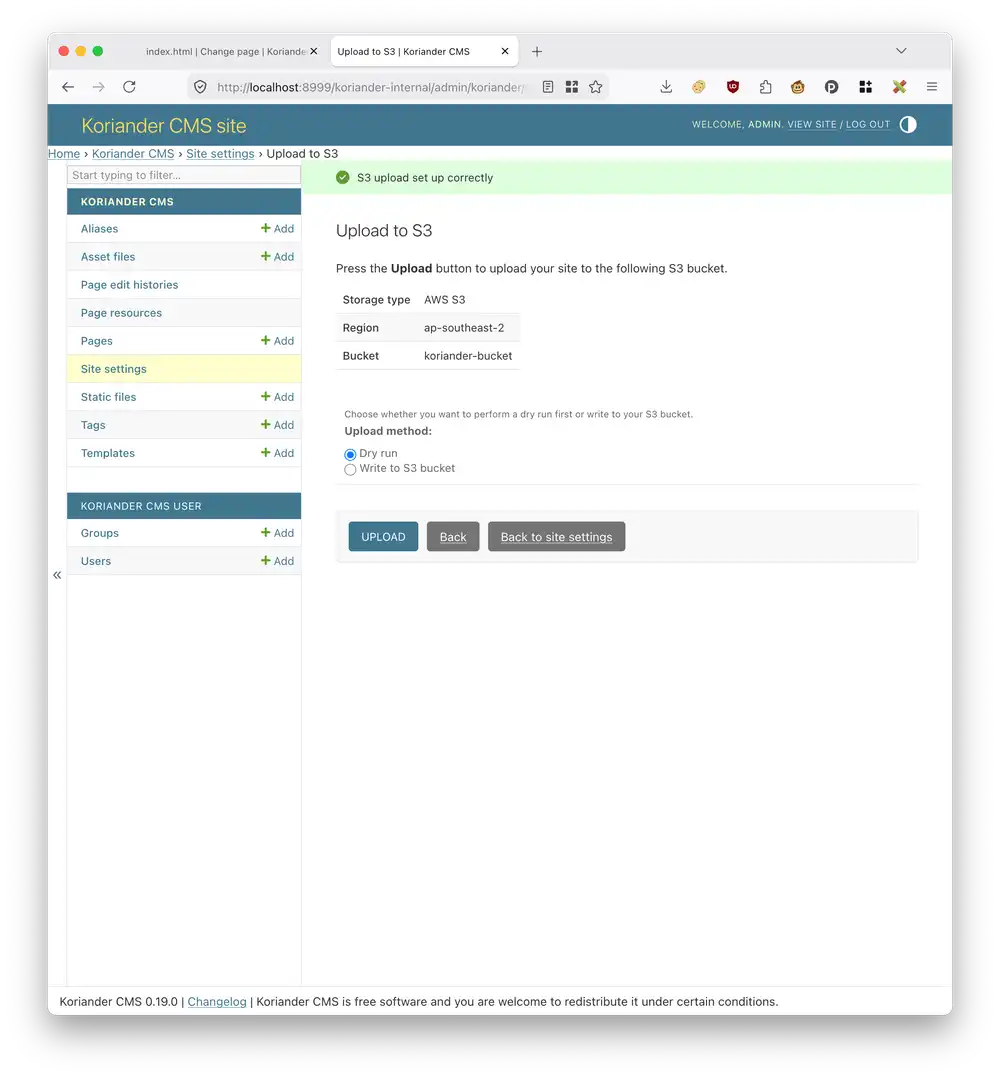
Koriander CMS now tells you which files it would upload to your Amazon S3 bucket, but hasn't yet uploaded since it's a Dry run:
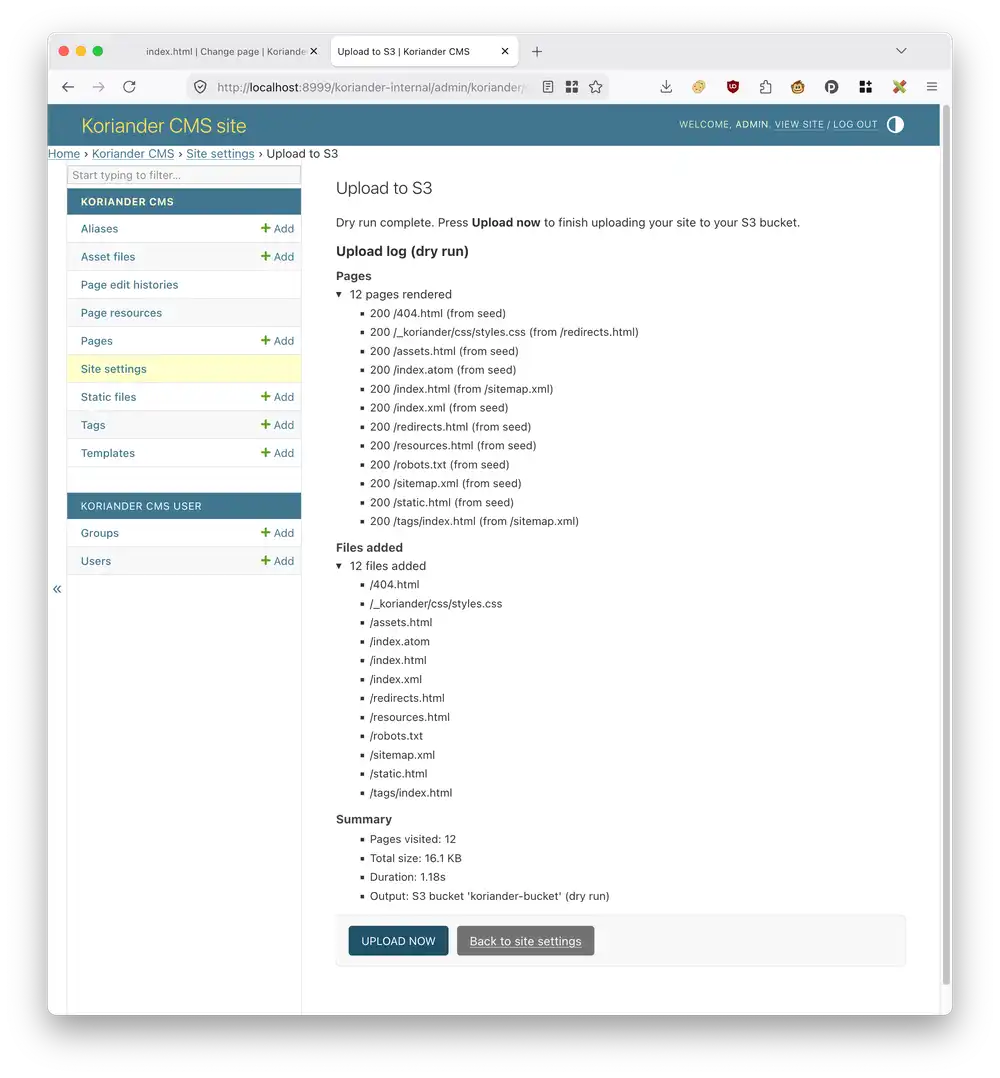
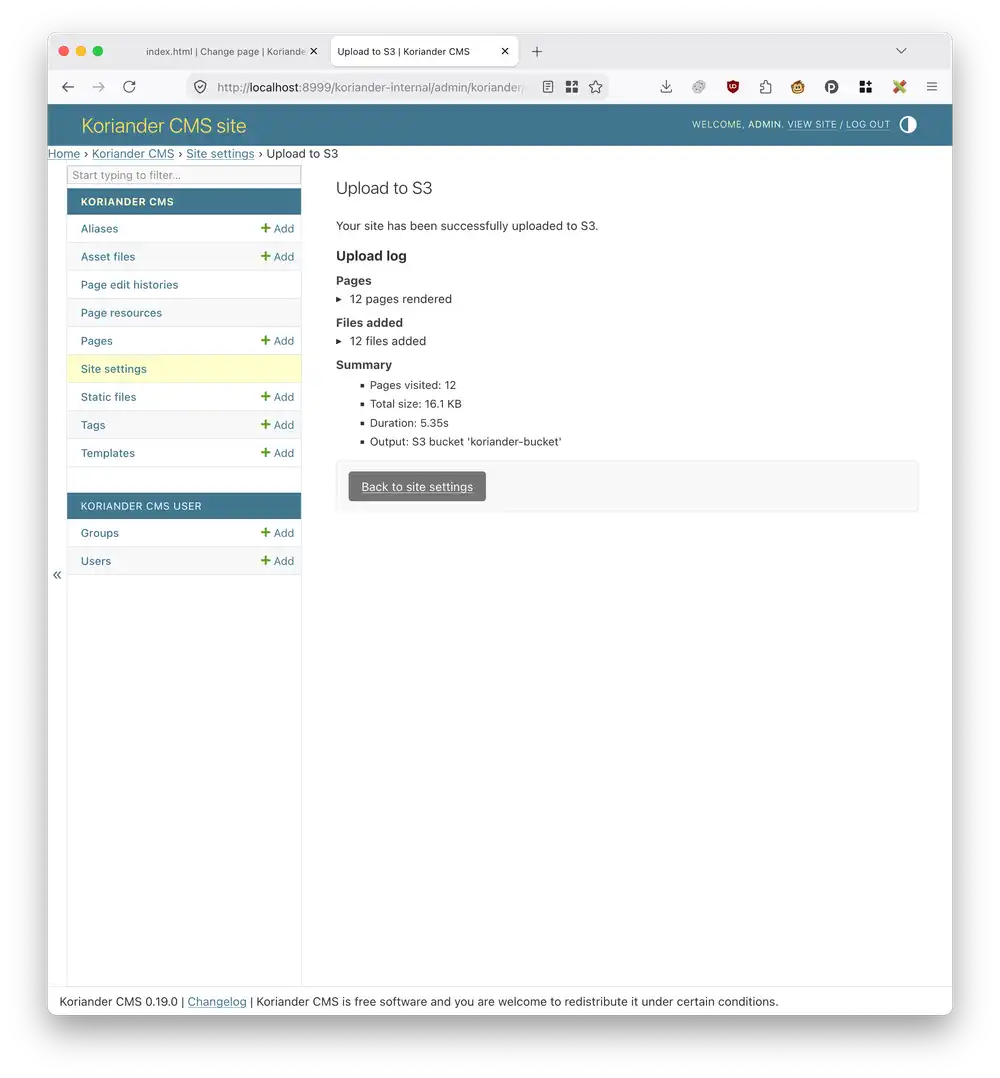
Press Upload now to upload your Koriander CMS site to your Amazon S3 bucket. This takes you to a results page:
Check your newly uploaded site
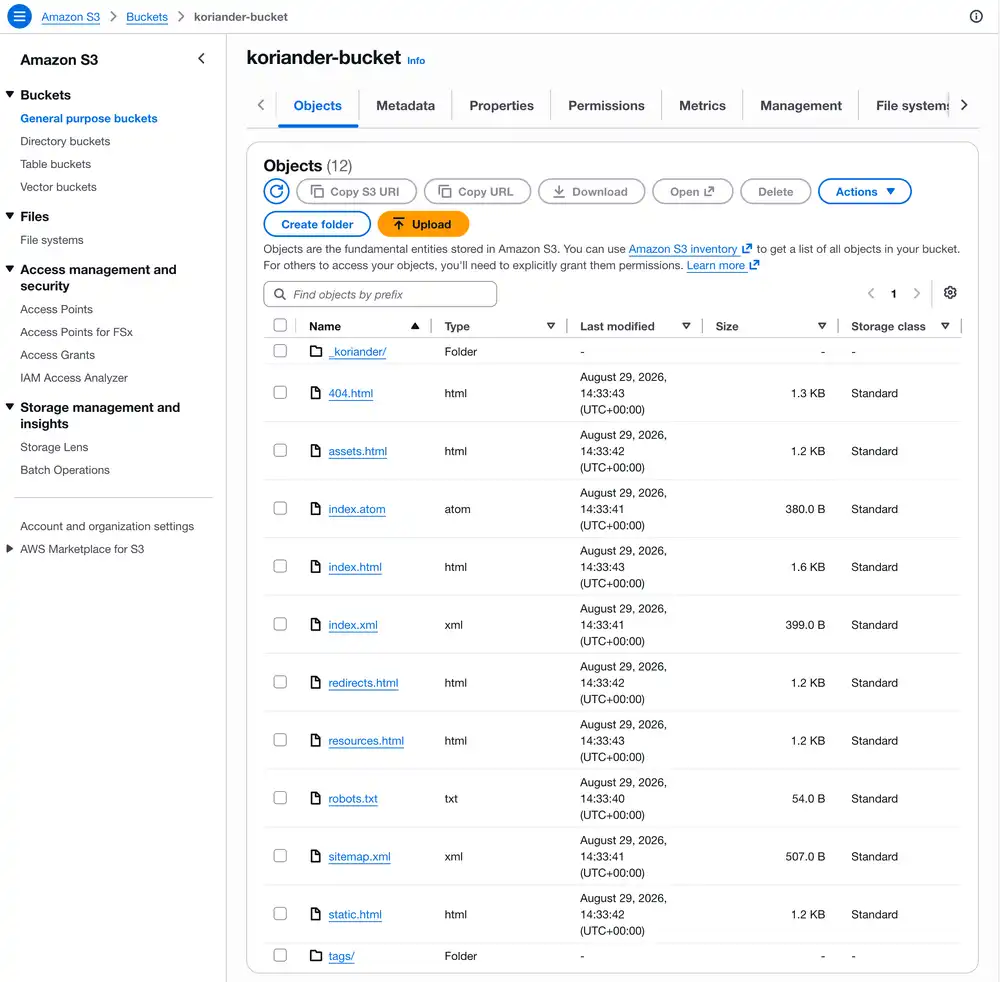
Confirm that you've uploaded your file to your Amazon S3 bucket by opening your bucket in the AWS Console and selecting the Objects tab:
Go to your CloudFront distribution. You should see the Last modified field updating. Note the “…cloudfront.net” Distribution domain name:
Now open the “…cloudfront.net” Distribution domain name in your browser. You should see your own Koriander CMS site appear:
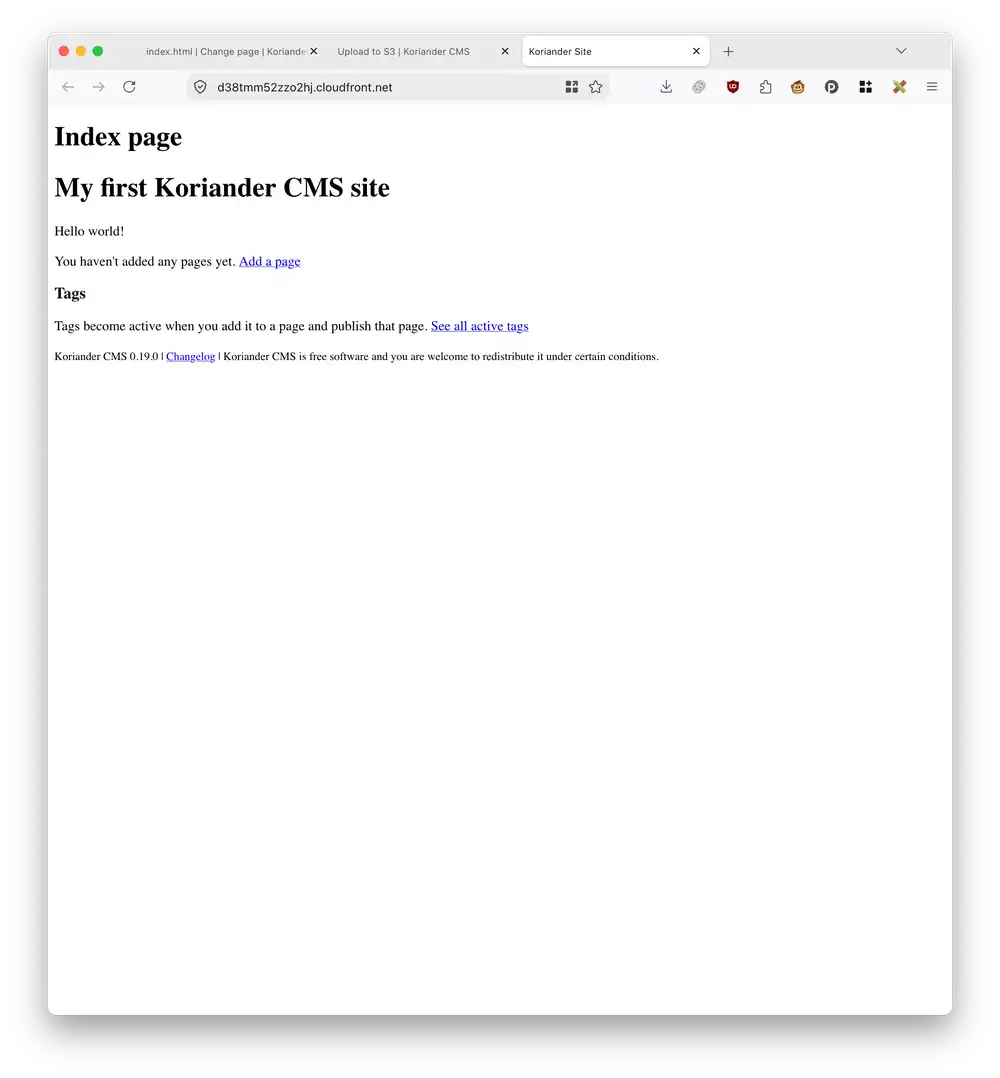
You have just published your Koriander Site using Amazon S3 and CloudFront.
Here are some more things that you can do:
- Create more pages in Koriander CMS
- Add pictures to your Koriander CMS pages
- Customize your Koriander CMS page templates and styles
- Use your own domain name with CloudFront: Use custom URLs by adding alternate domain names (CNAMEs)
-
For local tools, AWS advises you to use an "Integrated Development Environment which supports the AWS Toolkit", which isn't realistic for Koriander to support at the moment. Further, the Learn more link directs you to a generic landing page with tools for vibecoded projects that doesn't explain how one should go ahead and integrate this into the Koriander CMS. If anything, AWS does their users a disservice by not providing a safer escape hatch that works for local tools. Surely they could also make it easier to add automatic expiry to access keys. ↩
-
The AWS console lists "ap-southeast-2" as "Asia Pacific (Sydney)". You can see the region name in the console address. Example: http://ap-southeast-2.console.aws.amazon.com/s3/buckets. The Amazon S3 documentation also has a page documenting S3 endpoint names. ↩
-
Grant read and write access to Amazon S3 bucket objects further describes this policy. ↩
-
When you open your bucket to the public, anyone can read anything inside the bucket. Be sure you use this bucket only for hosting your Koriander site. You may want to place AWS Cloudfront before the S3 bucket to avoid having to make this bucket public. ↩
-
When Koriander performs a Dry run, it checks which files in your site have changed or which ones you've added or removed. You can always try a Dry run if you're not sure what changes. ↩
-
Visit the Creating a general purpose bucket tutorial for more information on how to create an Amazon S3 bucket. ↩
-
Find more information in the Create an IAM user in your AWS account tutorial on docs.aws.amazon.com if you're not sure how to continue. ↩
-
You may want to revise these settings later. Learn how to here ↩